Manage cookies that are used for advertising, such as ad personalization, remarketing, and ad effectiveness analysis.
4.3.1.7. Labels in WebMail.Online
General information
Labels are simple tags that can be added to messages to organize a more convenient process of working with them. For example, you can divide messages into categories, visually highlight them in the list (color, icon), set their own priorities (Low, Normal, High), statuses (TODO, DOING, DONE, LATER, NOW, WAITING), etc.
Labels are only visible in your mailbox. They will not be visible in other mailboxes in this mail domain or in recipients' mailboxes.
Manage labels
Create
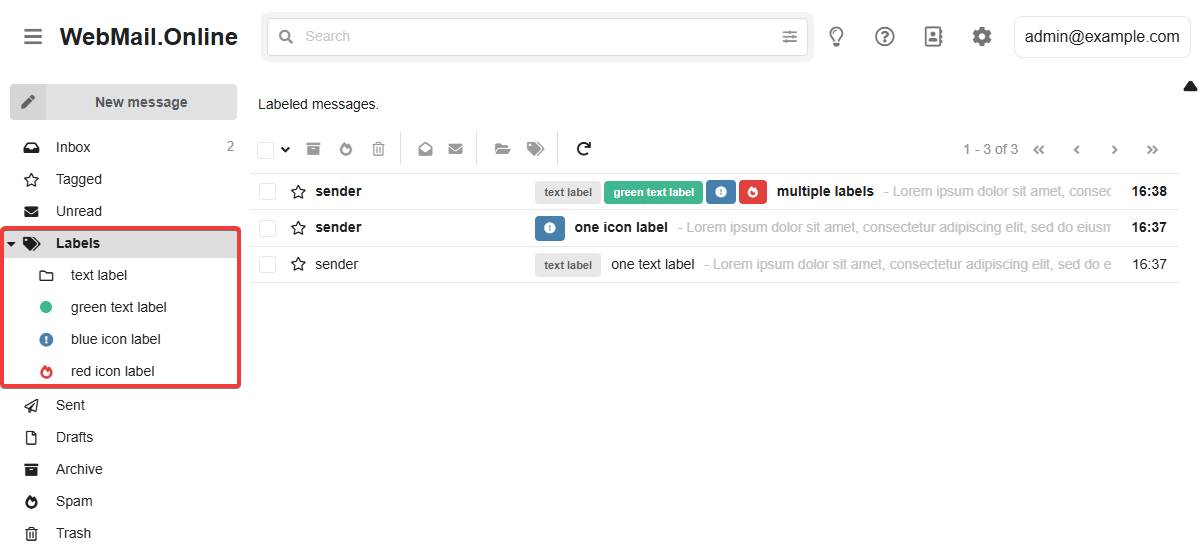
Labels with icons are displayed in the list of messages in a compact form — only the icon is visible, and the name is displayed in the tooltip when you hover over it.
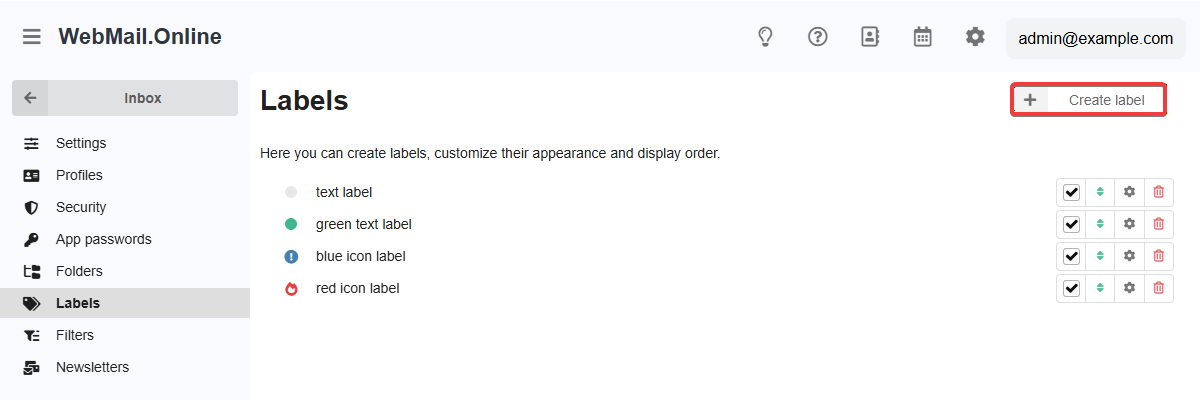
- Open the WebMail.Online settings and go to the "Labels" section.
- Click "Create label":
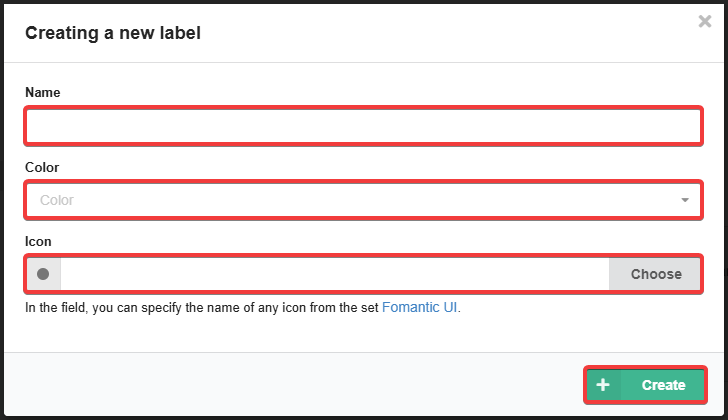
- Specify a label name, select a color, icon (optional) and click "Create":
Change
Changes to the label are applied to all messages for which it has been added.
- Open the WebMail.Online settings and go to the "Labels" section.
- In the row with the label, click ⚙️ ("Edit").
- Change the label name, color or icon and click "Change".
Delete
Deleting a label does not delete messages for which it was added (the number of such messages is displayed in the deletion confirmation window).
- Open the WebMail.Online settings and go to the "Labels" section.
- In the row with the label, click 🗑 ("Delete").
- Confirm the operation with the button in the window.
Labels of third-party email clients
The system recognizes some standard labels of third-party email clients and offers to add them for use in WebMail.Online:
The "Labeled message" link allows you to quickly go to the message to which the label applies.
The "Hide label" button adds the label to the system and disables its display.
The "Add label" button opens the create form of a new label. The form will additionally display an unchangeable field "Label" with the name of the label in the third-party email client.
Add to messages
Notes:
- Any number of labels can be added to each message.
- Adding a label does not move the message to another folder.
- With filters, you can set up labels to be added automatically under certain conditions.
There are several ways to add labels.
In the list of messages, in the message row, click 🏷 ("Labels"):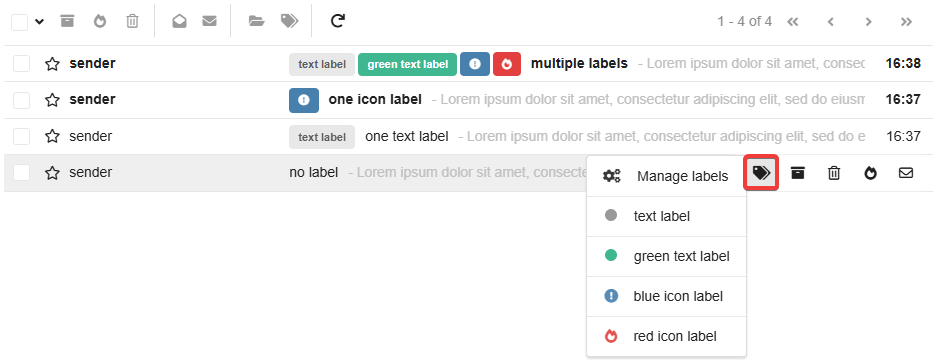
When viewing a message, select "Set label" from the message menu: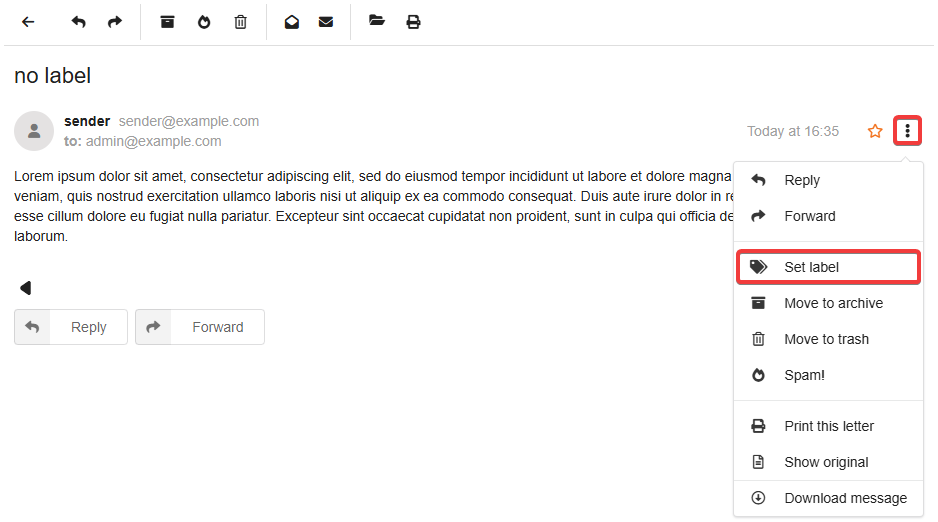
Select the desired messages and click 🏷 ("Set label") in the toolbar: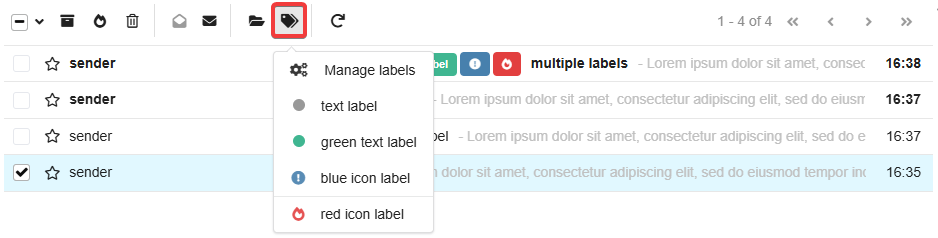
Change and delete message labels
To change message labels:
To remove labels, you only need to perform the first step.
Use
List of messages
When your mailbox has labels, in the list of messages in the side menu you will see an additional item "Labels". Clicking on this item filters the list of messages and leaves there only messages with labels (any). If you expand the item, the list of labels is displayed. Clicking on a specific label filters the list of messages by this label.
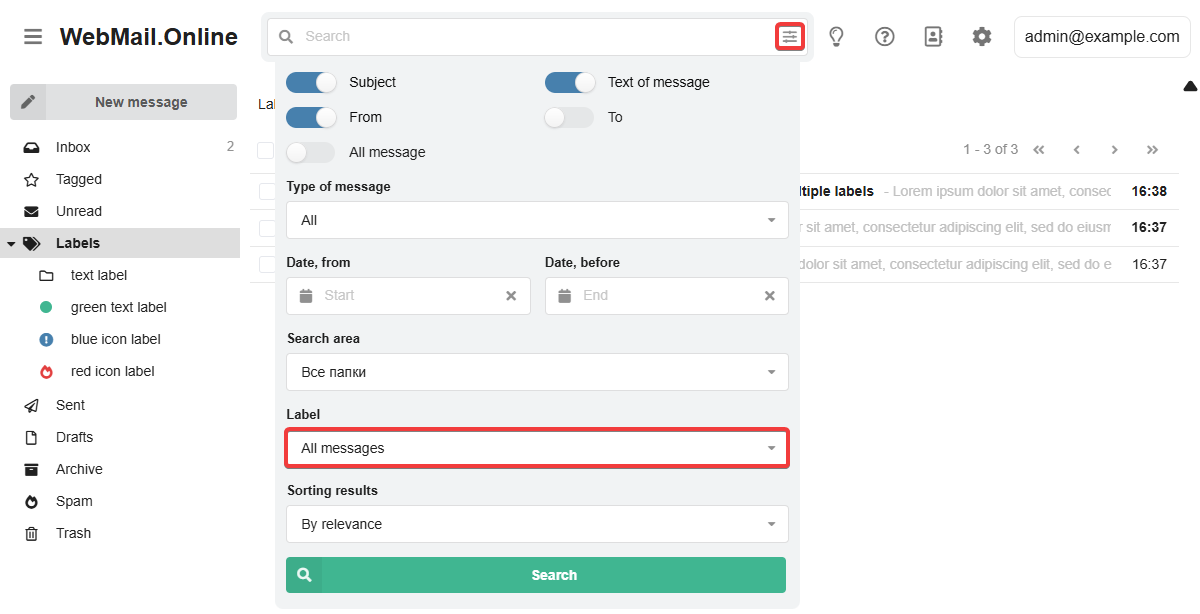
Search
Labels can be used when searching for messages (field "Label" in the search parameters):