Manage cookies that are used for advertising, such as ad personalization, remarketing, and ad effectiveness analysis.
4.3.1.6. Configure signature in WebMail.Online
General information
Signature – a predefined text that is automatically added to the end of each message when it is written. The signature is individually configured for each mailbox and only works when sending messages via WebMail.Online. Using profiles for a single mailbox, you can configure several different signatures and select the profile with the desired signature when writing a message.
Configure
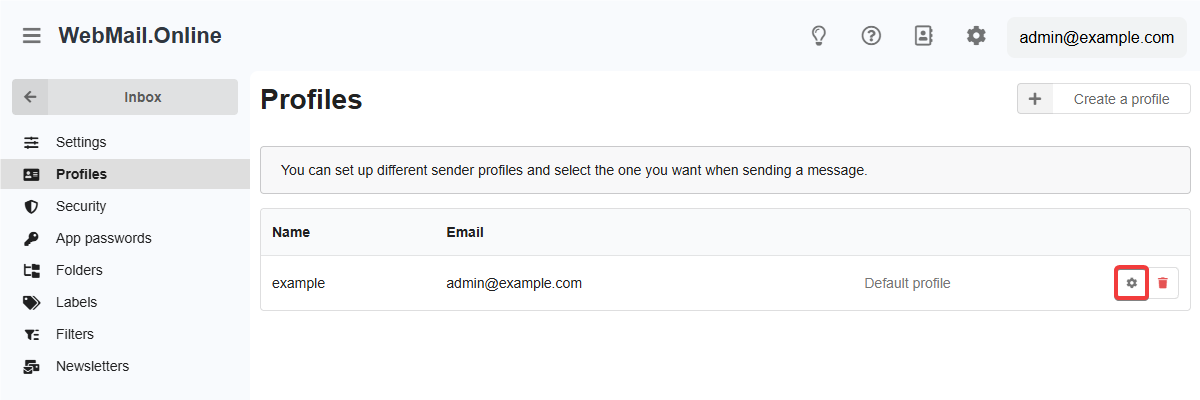
- Open WebMail.Online settings and go to the "Profiles" section.
- In the row with the profile, click ⚙️ (if there are no profiles, create a new one):
- Specify the desired caption and save the changes.
Editor modes
The signature editor has two modes:
- Visual editor — all design changes are immediately visible.
- HTML editor — you can edit the code directly.
To enable the HTML editor, use the button with angle brackets (<>). To return to the visual editor, click "Switch to visual editor". The signature content is not lost when switching. The selected mode is remembered for the mailbox.
Images
Insert
To insert an image from a file, use the upload button in the visual editor (the uploaded image will be stored on cdn.webmail.online):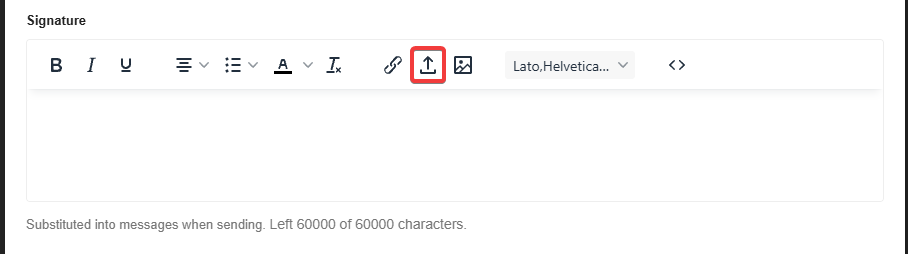
The method for inserting an image from a link depends on the current editor mode:
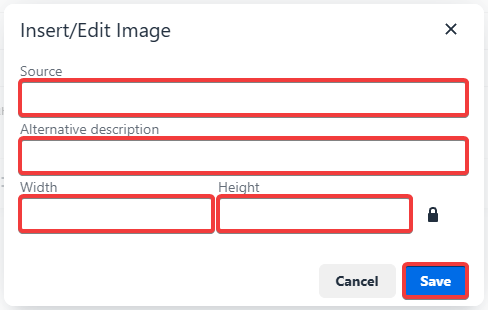
- In visual editor — click the image button, specify the link to the image, additional parameters (optional), and save the changes:
- In HTML editor — use standard HTML syntax:
<img src="https://example.com/image.png" alt="description" width="320" height="240">
Size
There are several ways to change the size of an inserted image:
- In visual editor:
- Select an image and simply drag the corners of the selection with your mouse.
- Select an image, click on the image button, specify the desired size, and save the changes (in the editing form: 🔒 — keep original proportions, 🔓 — do not keep, clearing the size fields returns the image to its original size).
- In HTML editor — specify the desired size in the attributes of the
<img>tag.
Links
The method for adding links depends on the current editor mode:
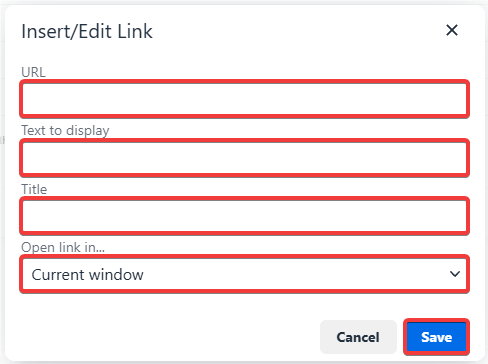
- In visual editor — click 🔗 (to the left of the insert image button), specify the link, its name, additional parameters (optional), and save your changes:
- In HTML editor — use standard HTML syntax:
<a href="https://example.com/" target="_blank">Link name</a>
(1)