Manage cookies that are used for advertising, such as ad personalization, remarketing, and ad effectiveness analysis.
4.9.9. WebMail design
Important points:
- Interface customization (setting a name, link, logos) is only available for corporate mail.
- The domain must be served on our NS.
WebMail.Online and WebMail classic can be hosted on your domain and personalize its interface:
- Add a logo (displayed on the login page and in the upper left corner of the WebMail interface).
- Provide a link to your own customer service.
- Configure the ability for users to change their own mailbox password.
Enable
- Open the "WebMail design" section.
- Fill out the form and click "Save":
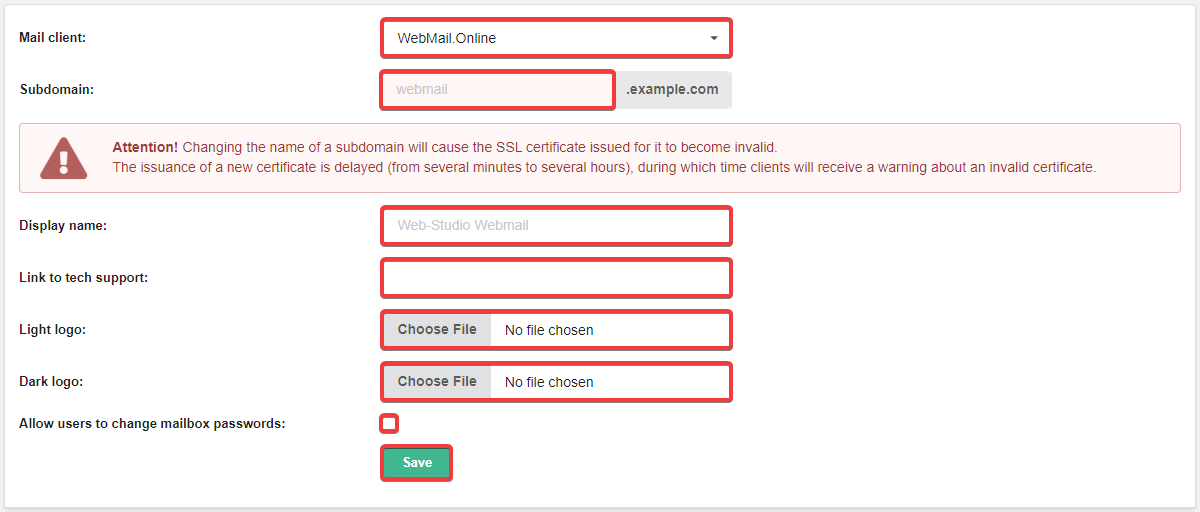
- "Mail client" — "WebMail.Online" or "WebMail classic".
- "Subdomain" — name of the subdomain where WebMail should be opened (e.g.,
webmail). - "Display name" — company name that will be displayed on the WebMail login page (if not specified, it will be displayed as "adm.tools webmail").
- "Link to tech support" — link to the technical support page (if not specified, the link will point to our address).
- "Light logo" and "Dark logo" — logo images (if not uploaded, the default logo of our control panel will be displayed).
- "Allow users to change mailbox passwords" — displays a link on the WebMail login page that allows the user to change the mailbox password if he/she knows the current password. If this option is disabled, it will be possible to change the password only via mailbox settings, and when trying to change the password on the password change page, an error will be displayed that the password change is blocked by the administrator.
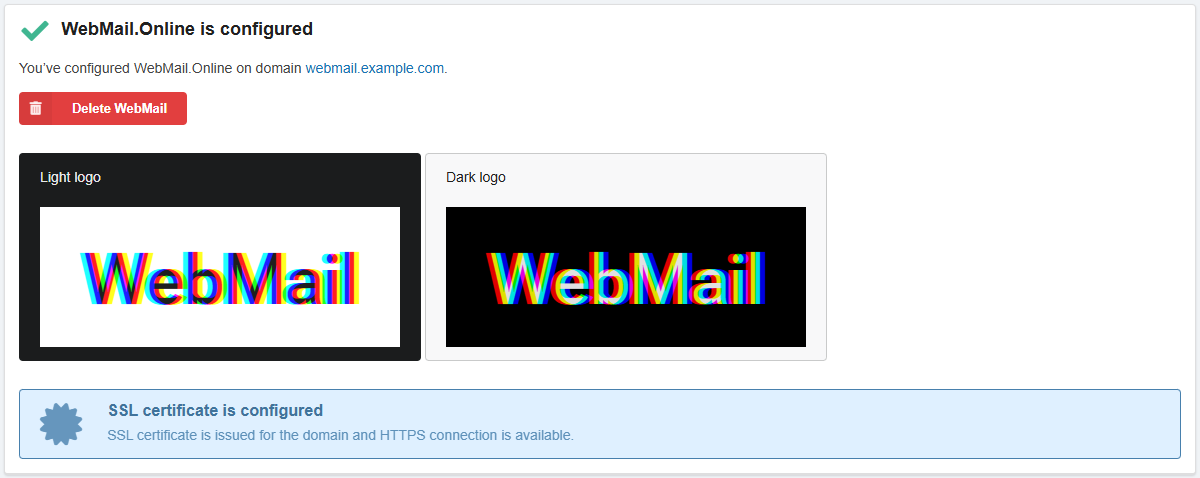
- At the top of the section, you will see a block with the configuration status, uploaded logos, and SSL certificate status:
- Wait for the DNS cache to refresh (usually within an hour, maximum 24 hours).
- Check if WebMail is available at the address of the specified subdomain.
Change
In the "WebMail design" section, change the desired data and save the changes.
Disable
In the "WebMail design" section at the bottom of the page, click "Delete".