Manage cookies that are used for advertising, such as ad personalization, remarketing, and ad effectiveness analysis.
4.3.9.9. Set up calendar synchronization in eM Client
The WebMail.Online calendar can be synced with the eM Client mail client using the CalDAV protocol.
- Open eM Client.
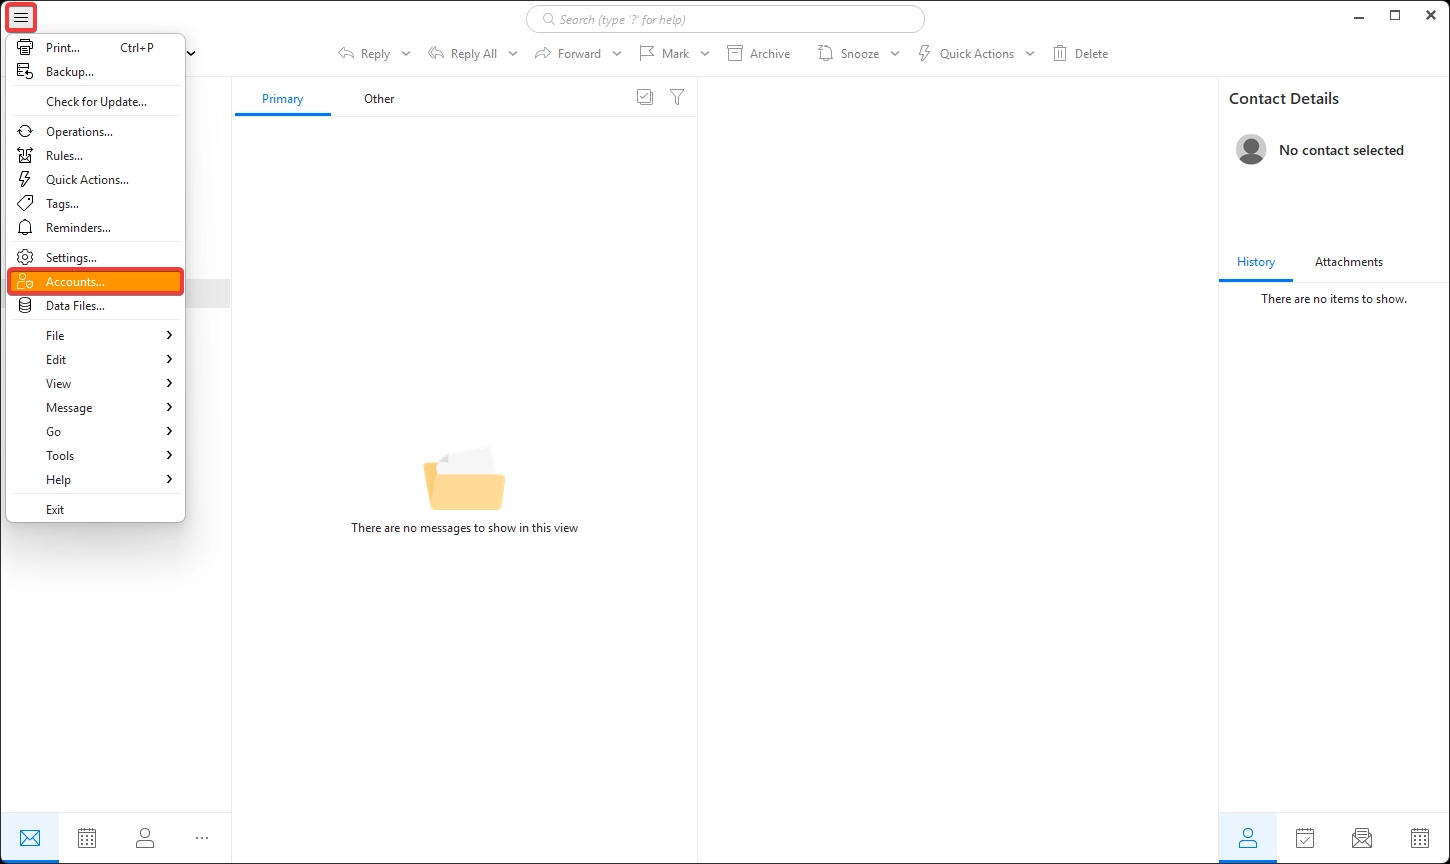
- In the main menu, select "Accounts":
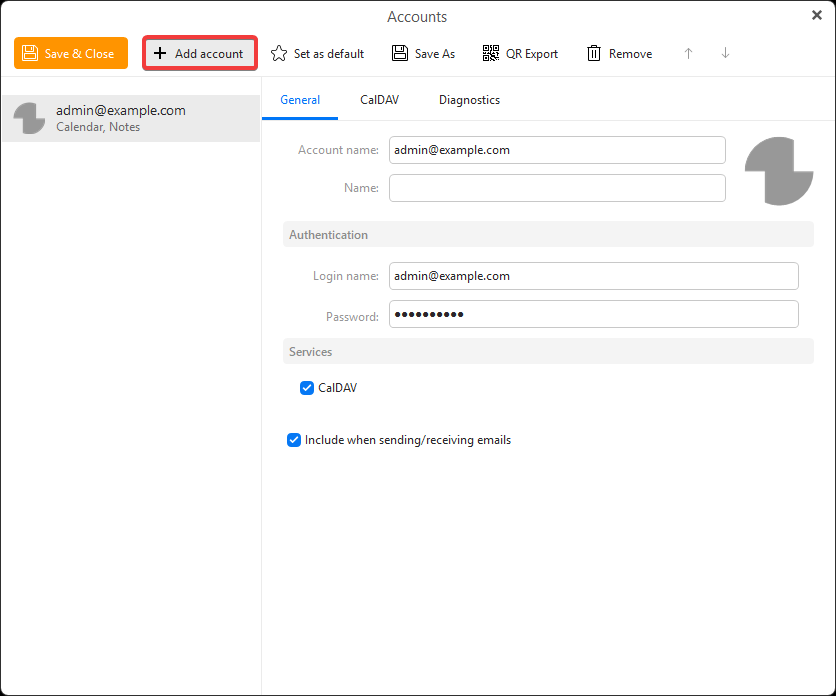
- Click "Add account":
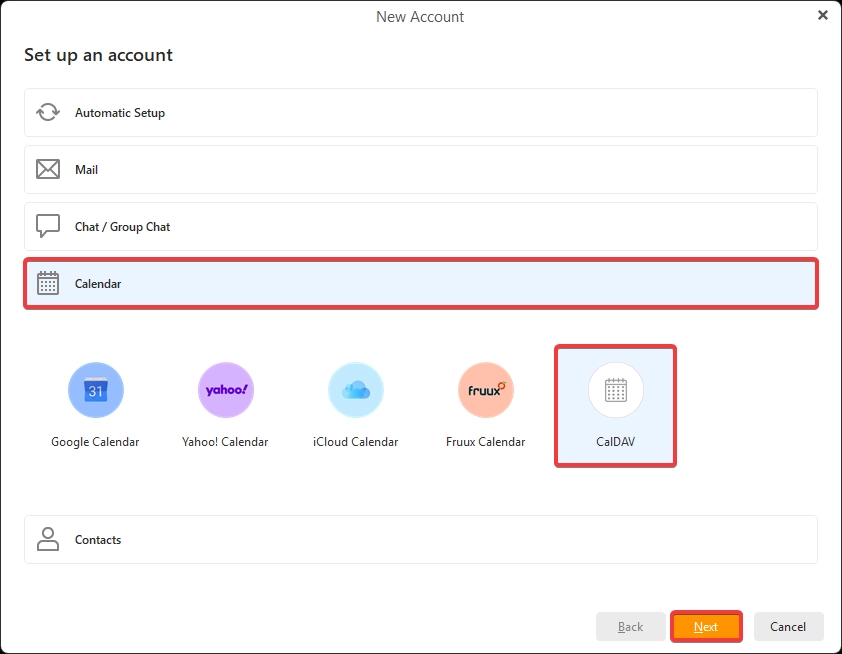
- Select "Calendar → CalDAV" and click "Next":
- Enter the CalDAV connection details and click "Next":
- Account address — link to access the mailbox calendar.
- User name — name of the mailbox with calendar.
- Password — password for the mailbox with the calendar.
- Enter the name under which the calendar will appear in the eM Client interface, and click "Next":
- Click "Finish" and check the calendar sync.