Manage cookies that are used for advertising, such as ad personalization, remarketing, and ad effectiveness analysis.
4.3.1.1.2. Access to WebMail.Online contacts via CardDAV
All WebMail.Online contacts and address books are stored on our server card.dav.broker and synchronized using the CardDAV protocol. If necessary, they can be additionally synchronized with third-party mail clients that support this protocol.
Credentials for connect
- Open WebMail.Online.
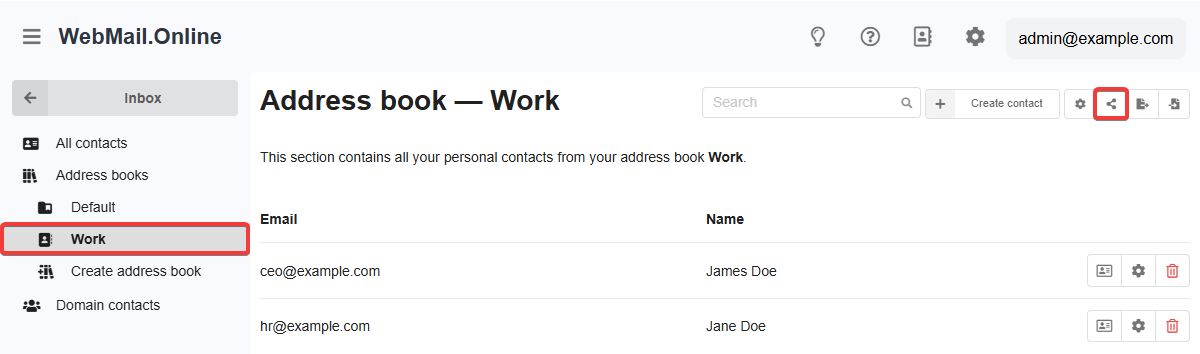
- In the "Contacts" section of the side menu, select the address book and click the access control button in the upper right corner:
- In the access management window, copy the credentials for connect and use them when setting up synchronization in your mail client:
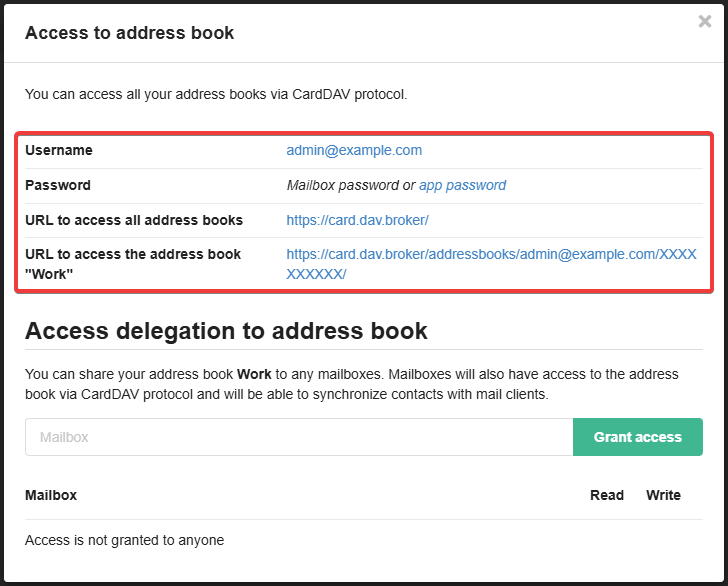
- "Username" — name of the mailbox with the address book.
- "Password" — use the password for the mailbox with the address book (or app password, if configured).
- "URL to access all address books" — link to access all address books of the mailbox (not all mail clients support this feature).
- "URL to access the address book" — link to access the selected address book of the mailbox.
Third-party mail clients
CardDAV support
Not all mail clients have built-in support for CardDAV synchronization:- Supported via third-party plugins — Outlook (paid plugins EVO Collaborator for Outlook (ECO), gSyncit).
- Not supported — WebMail classic, Spark, the standard Contacts app for macOS (support is stated, but synchronization does not work properly).
- Open Thunderbird.
- In the side menu, switch to address books (or press Alt+2).
- Click the add address book button and select add CardDAV address book.
- Specify the address of the mailbox with the address book, URL to access the address book (or all address books) and click the continue button.
- Enter the mailbox password.
- Select the desired address books from those available and click the continue button.
- Open Betterbird.
- In the side menu, switch to address books (or press Alt+2).
- Click the add address book button and select add CardDAV address book.
- Specify the address of the mailbox with the address book, URL to access the address book (or all address books) and click the continue button.
- Enter the mailbox password.
- Select the desired address books from those available and click the continue button.
Attention!
The Bat! synchronizes all address books, regardless of the specified URL to access.- Open The Bat!.
- In the main menu, click "Tools → Address Book" (or press F8).
- In the upper left corner, click "➕ → Add address book".
- Specify the name of the address book and click "Advanced".
- Specify the connection settings and click ✅ in the upper right corner:
- "Synchronize" — when to perform synchronization.
- "Book type" — "Associated with a CardDAV service".
- "Server Address" — URL to access all address books.
- "User ID / Email" — address of the mailbox with the address book.
- "Password" — mailbox password.
- In the side menu, select the address book you created and click "Synchronize" in its menu.