Manage cookies that are used for advertising, such as ad personalization, remarketing, and ad effectiveness analysis.
6.16. Install and configure of Windows Server on Dedicated
Attention!
- Use only licensed software and official distributions. Licenses can be purchased from official representatives of Microsoft.
- We do not sell licenses for Windows Server and are not responsible for unlicensed software.
The instruction describes the process of installing and configuring Windows Server 2016. For other OS versions, the process may differ, but the general logic of actions is approximately the same.
Install
The installation is performed using KVM. Further interaction with the system is conducted via the RDP (Remote Desktop Protocol).
- Boot from the installation disk.
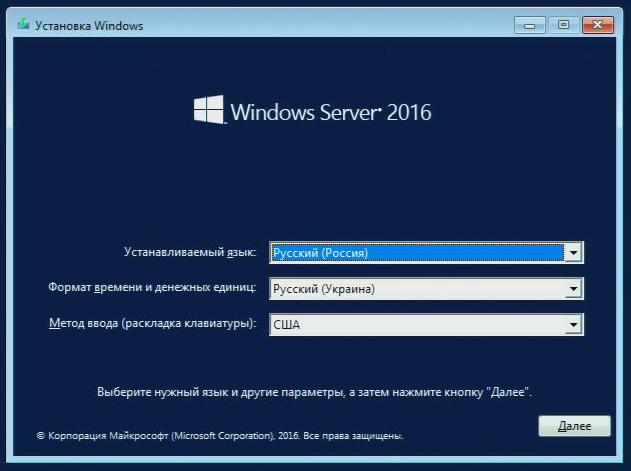
- Select the language, time format, currency units, keyboard layout, and click "Next":
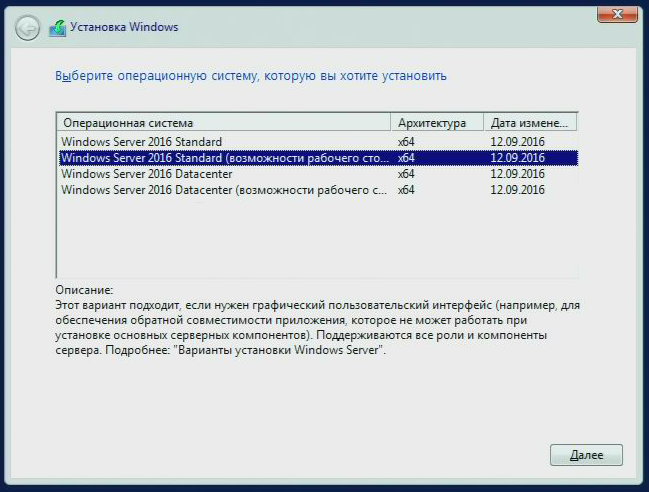
- Select the desired distribution option and click "Next":
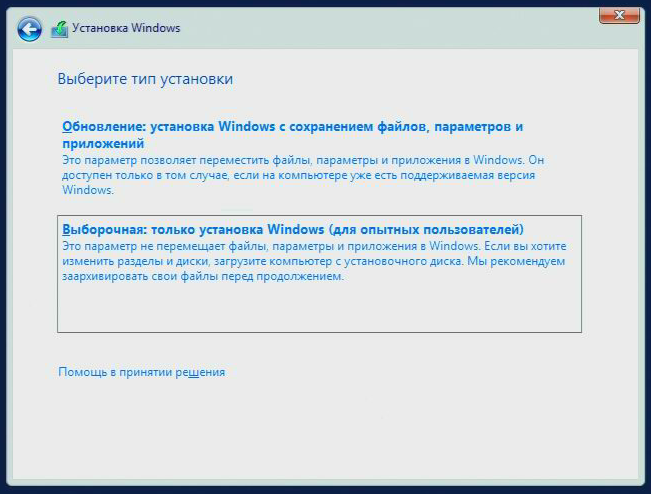
- Click "Custom: Windows installation only (for advanced users)":
- Partition the disk, select the desired partition, and click "Next":
Attention!
Before clicking "Next", the selected partition must be the one where the OS will be installed.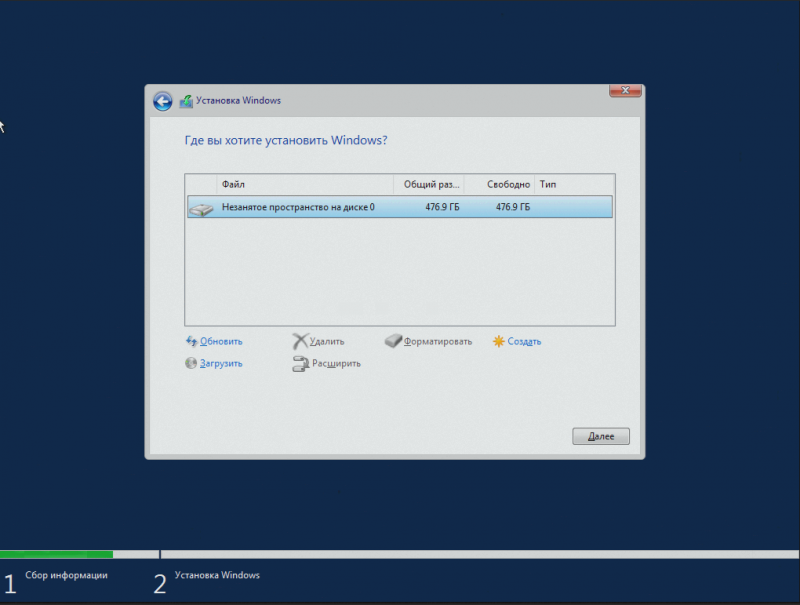
- Wait for the file copying to complete. The process usually takes no more than 30 minutes.
- Make sure the correct language is selected, and set the administrator password:
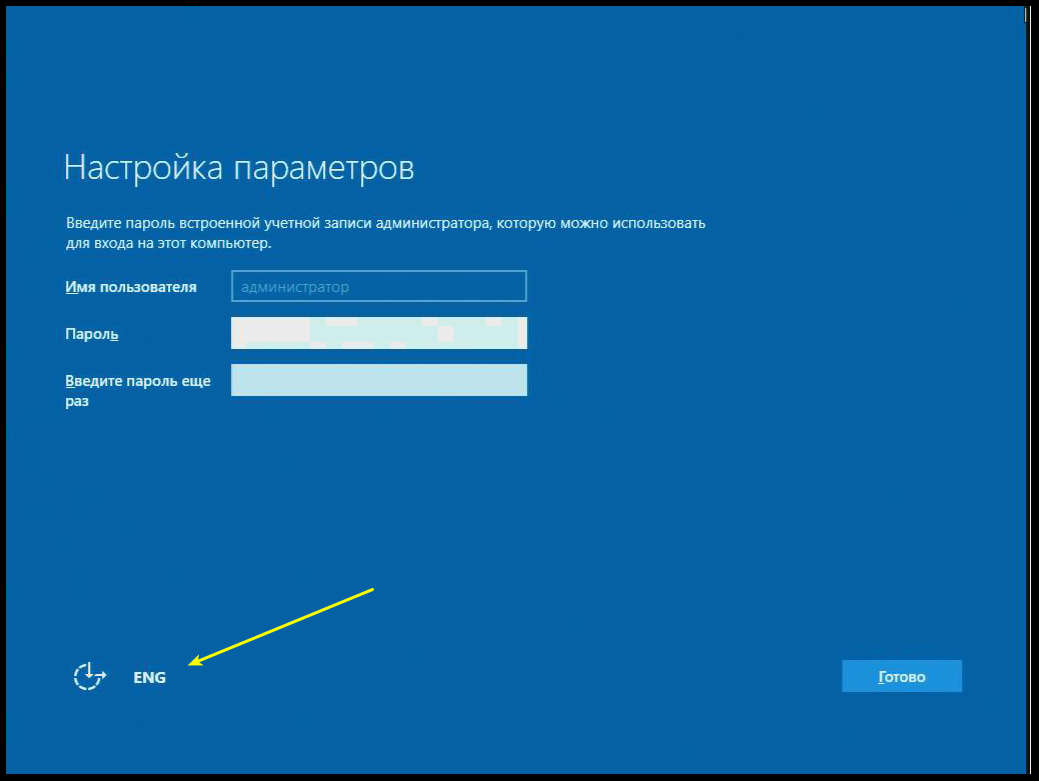
- Log in to the system (when entering the password, also ensure that the correct language is selected).
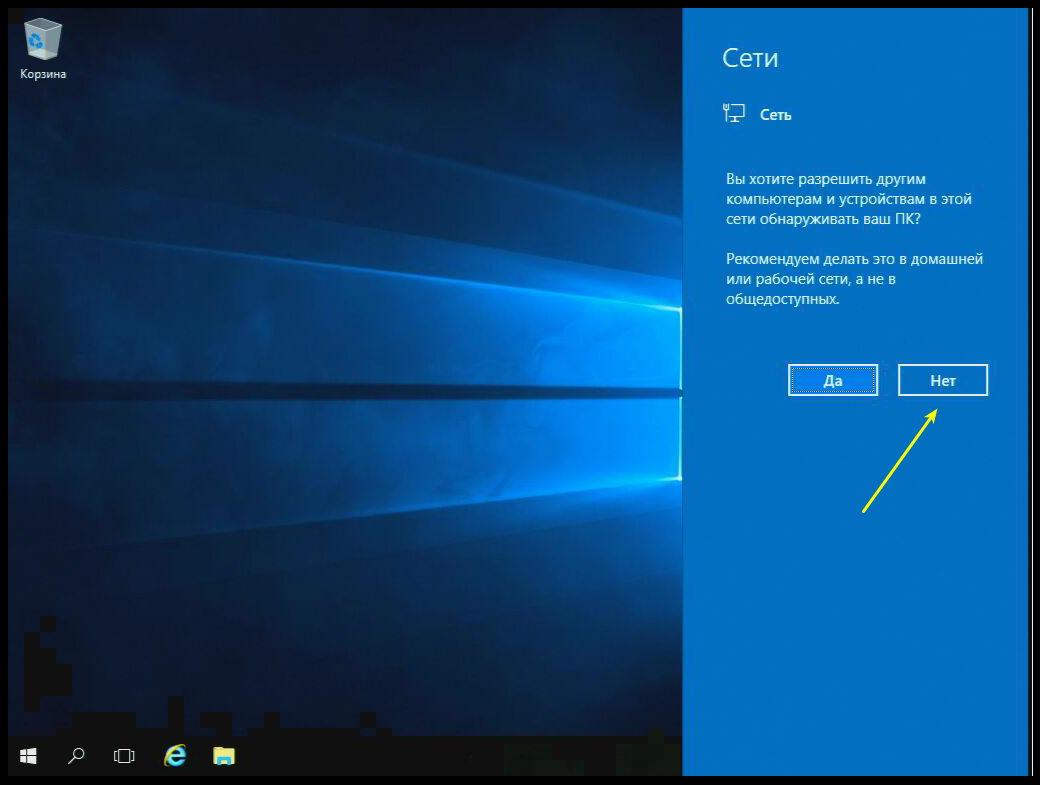
- In the request for permission to detect the PC on the network, click "No":
Configure
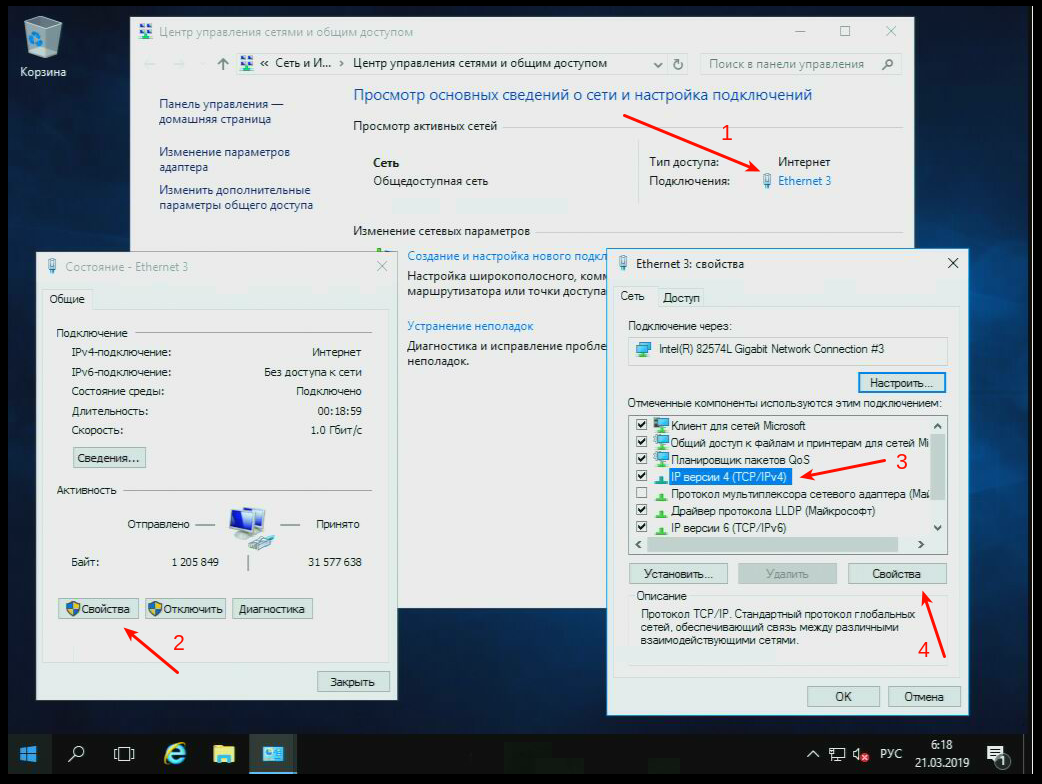
Static IP
- Right-click on the network icon in the tray and select "Network and Sharing Center…".
- Click on the current connection.
- Click "Properties" in the status window.
- Select "IP version 4 (TCP/IPv4)" and click "Properties".
- Select "Use the following IP address", specify the IP address of the server, and save the changes.
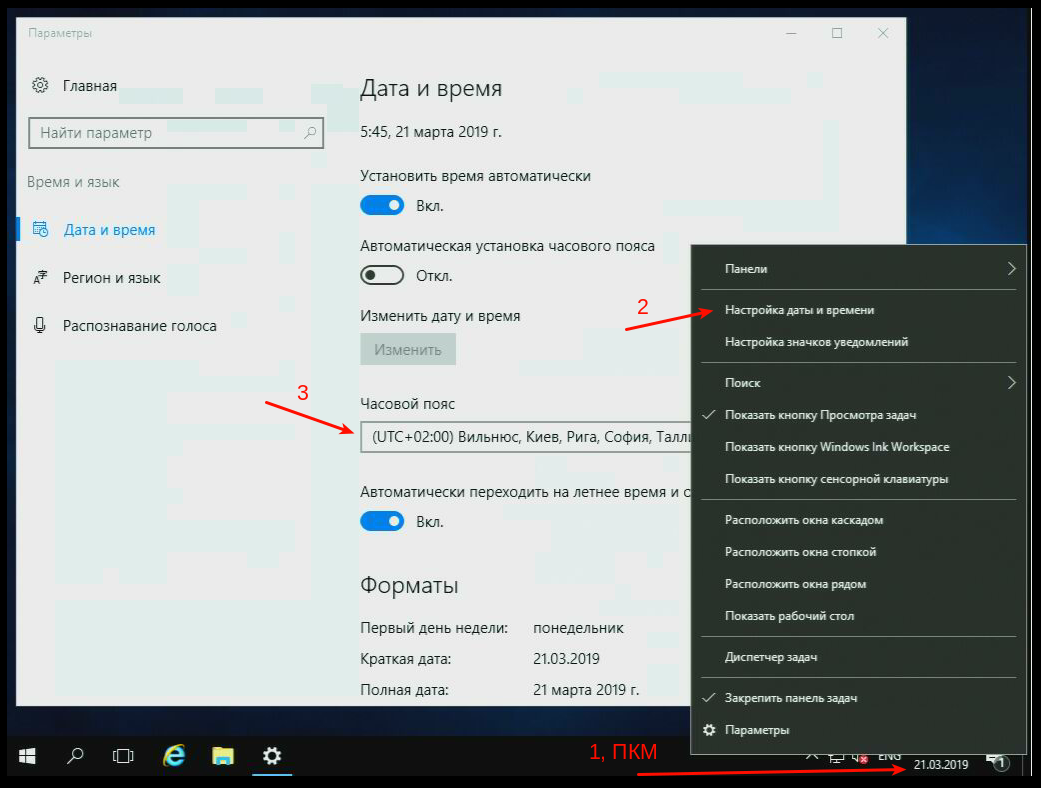
Time zone
- Right-click on the date in the tray and select "Adjust date and time."
- Select the required time zone in the "Time zone" field.
Activate
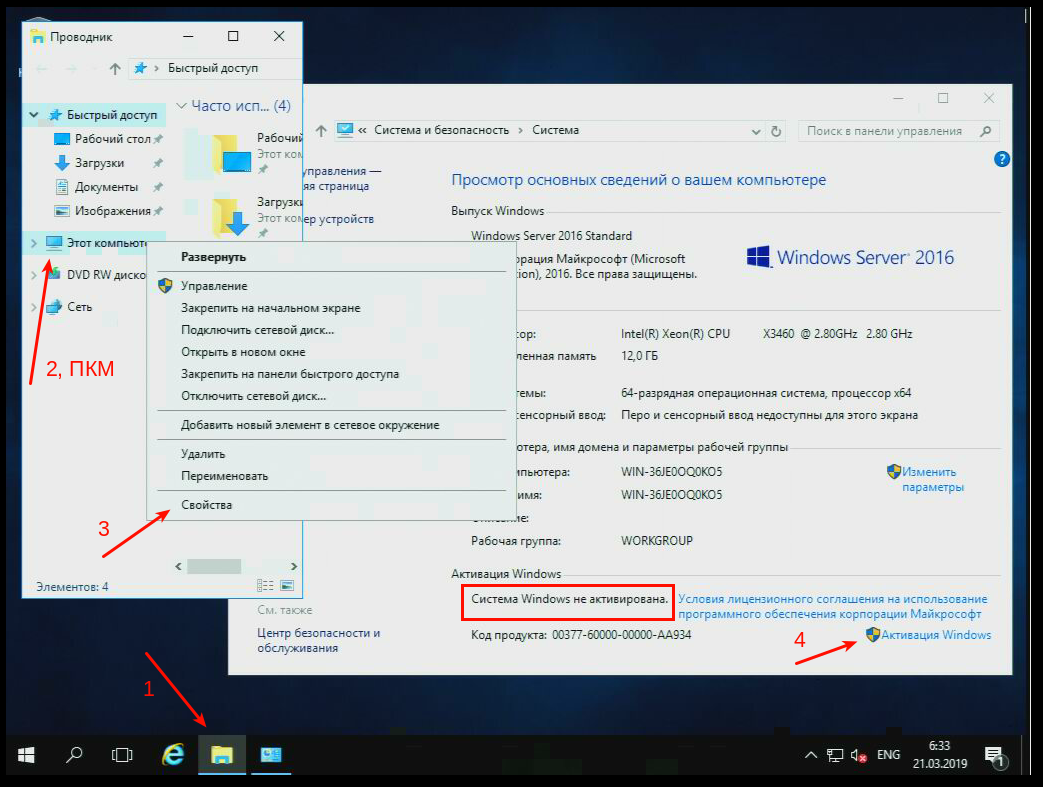
- Open File Explorer.
- Right-click on "This PC" and select "Properties".
- Click "Activate Windows."
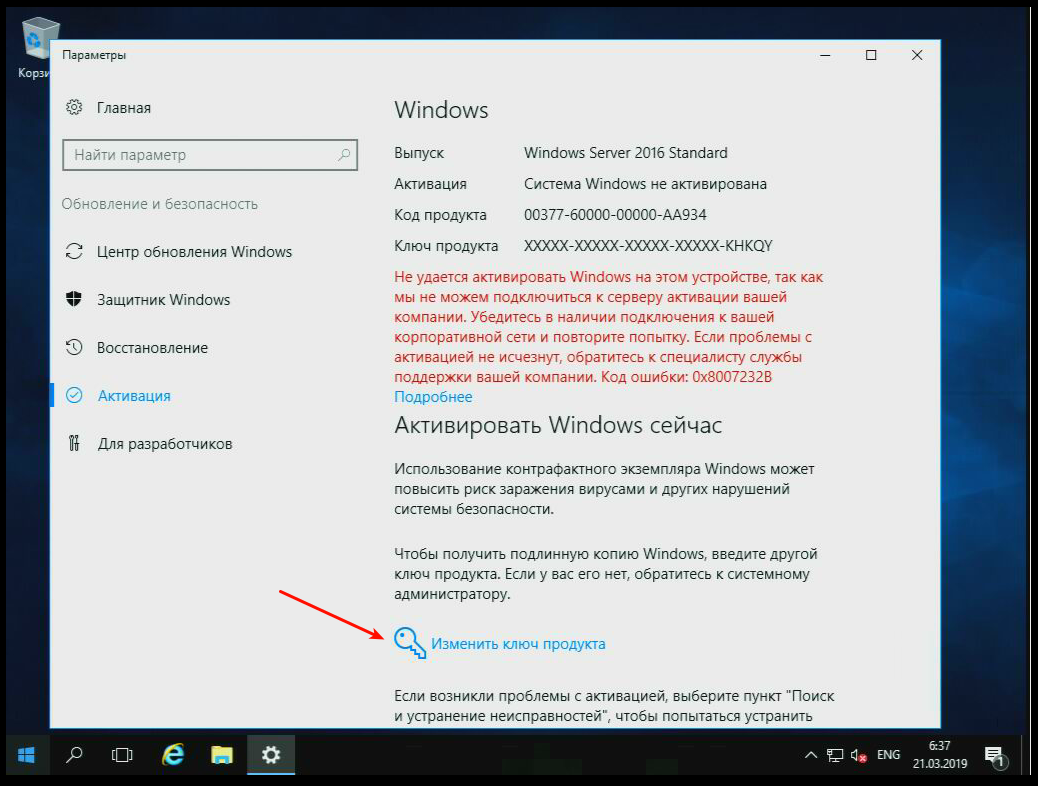
- Click "Change product key", enter your license key, and save the changes. Note If the window content does not load, try reopening it.
- In the request "Need to connect to the server…" click "Next". Note Even if an activation error "Failed to connect…" occurs, double-check whether Windows has actually been activated.
Enabling access via RDP
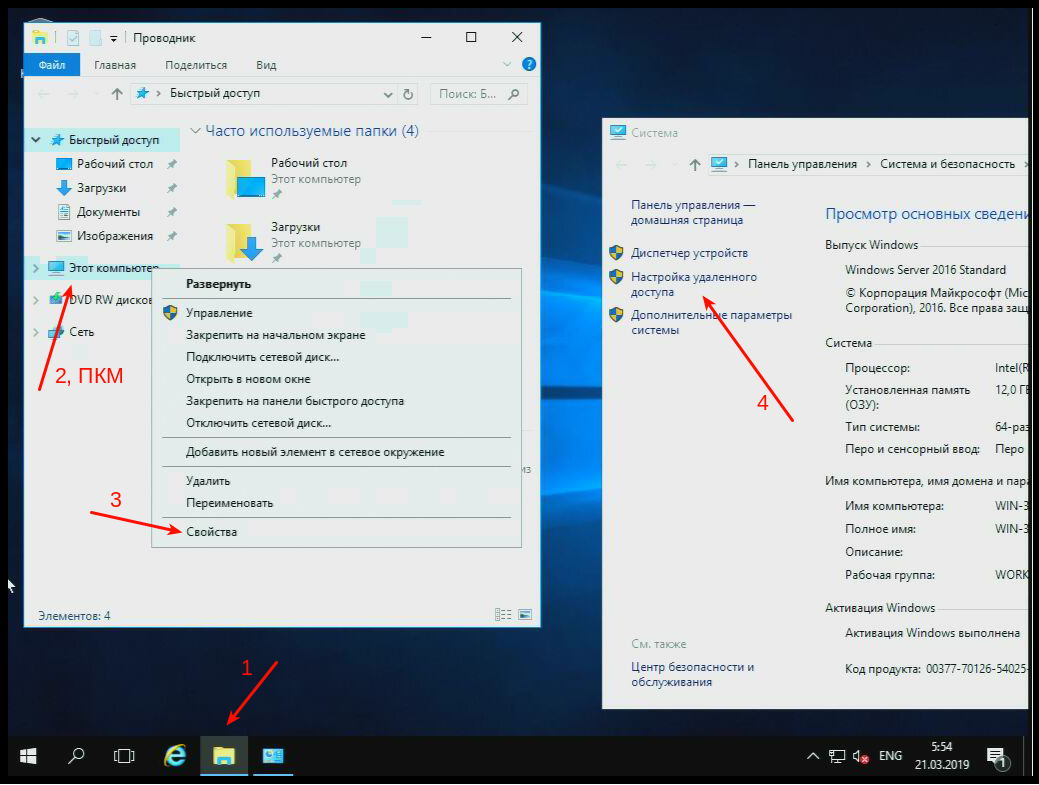
- Open File Explorer.
- Right-click on "This PC" and select "Properties".
- Click "Remote access setup".
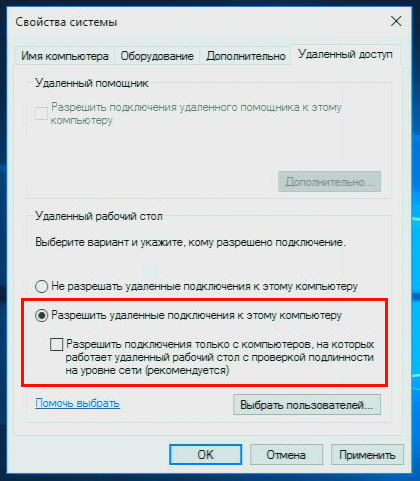
- Select "Allow remote connections to this computer" and save the changes.
Enabling the reception of ICMP packets
Attention!
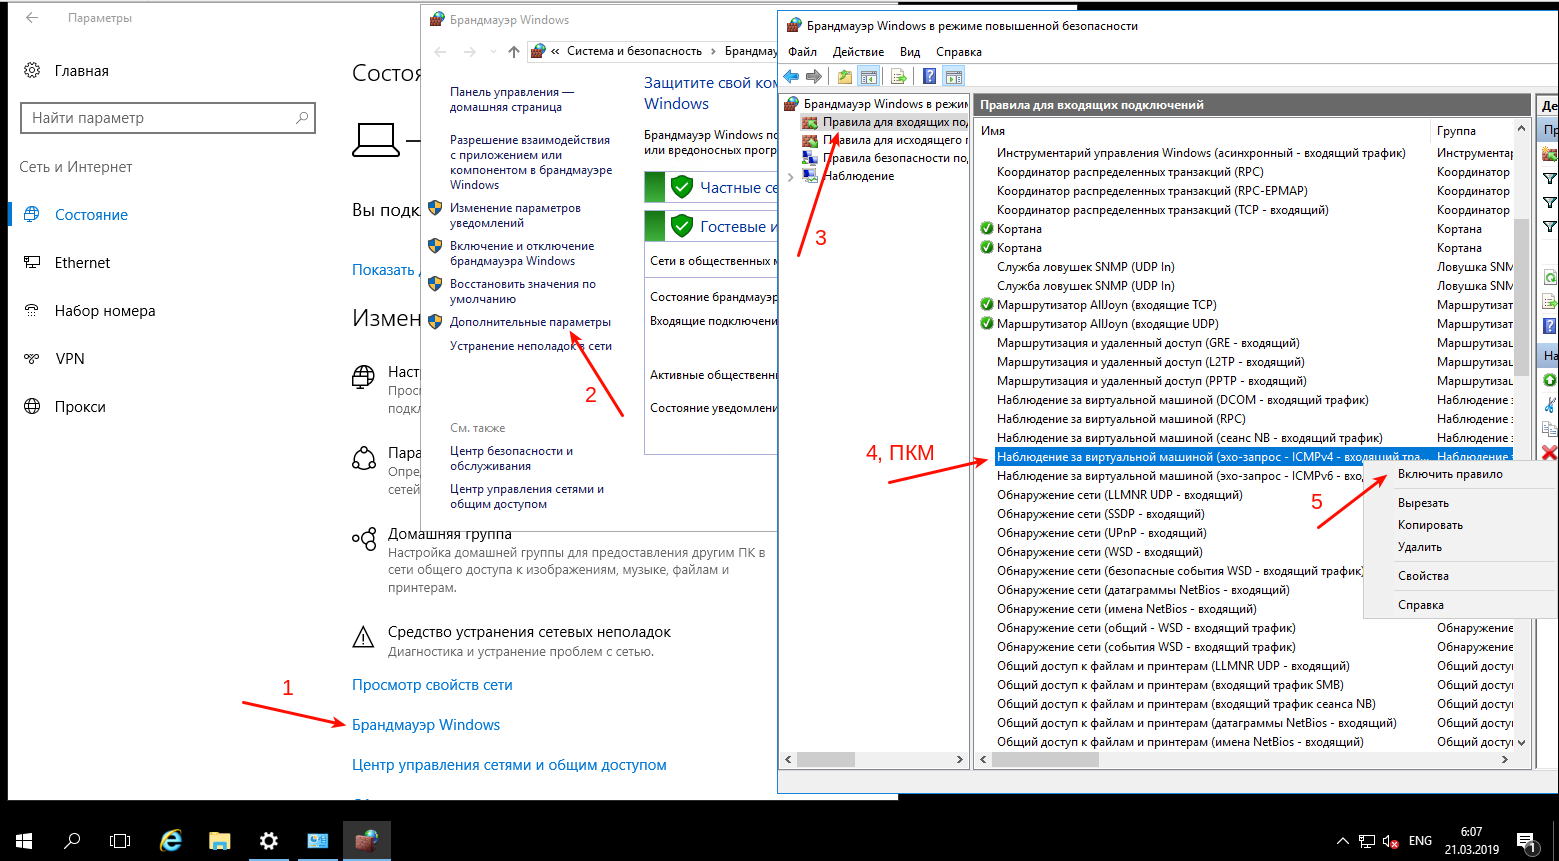
Without enabling the reception of ICMP packets, the server will not respond to pings and, consequently, will be unavailable for monitoring.- Open "Start → Settings → Network & Internet".
- Click "Windows Firewall".
- Click "Additional options".
- Select "Inbound Rules," right-click on "Virtual Machine Monitoring (Echo Request - ICMPv4 - Inbound Traffic)," and click "Enable Rule."
Checking and installing drivers
Open the device manager and check to ensure there are no unidentified devices in the system (these are usually marked with a yellow icon with an exclamation mark):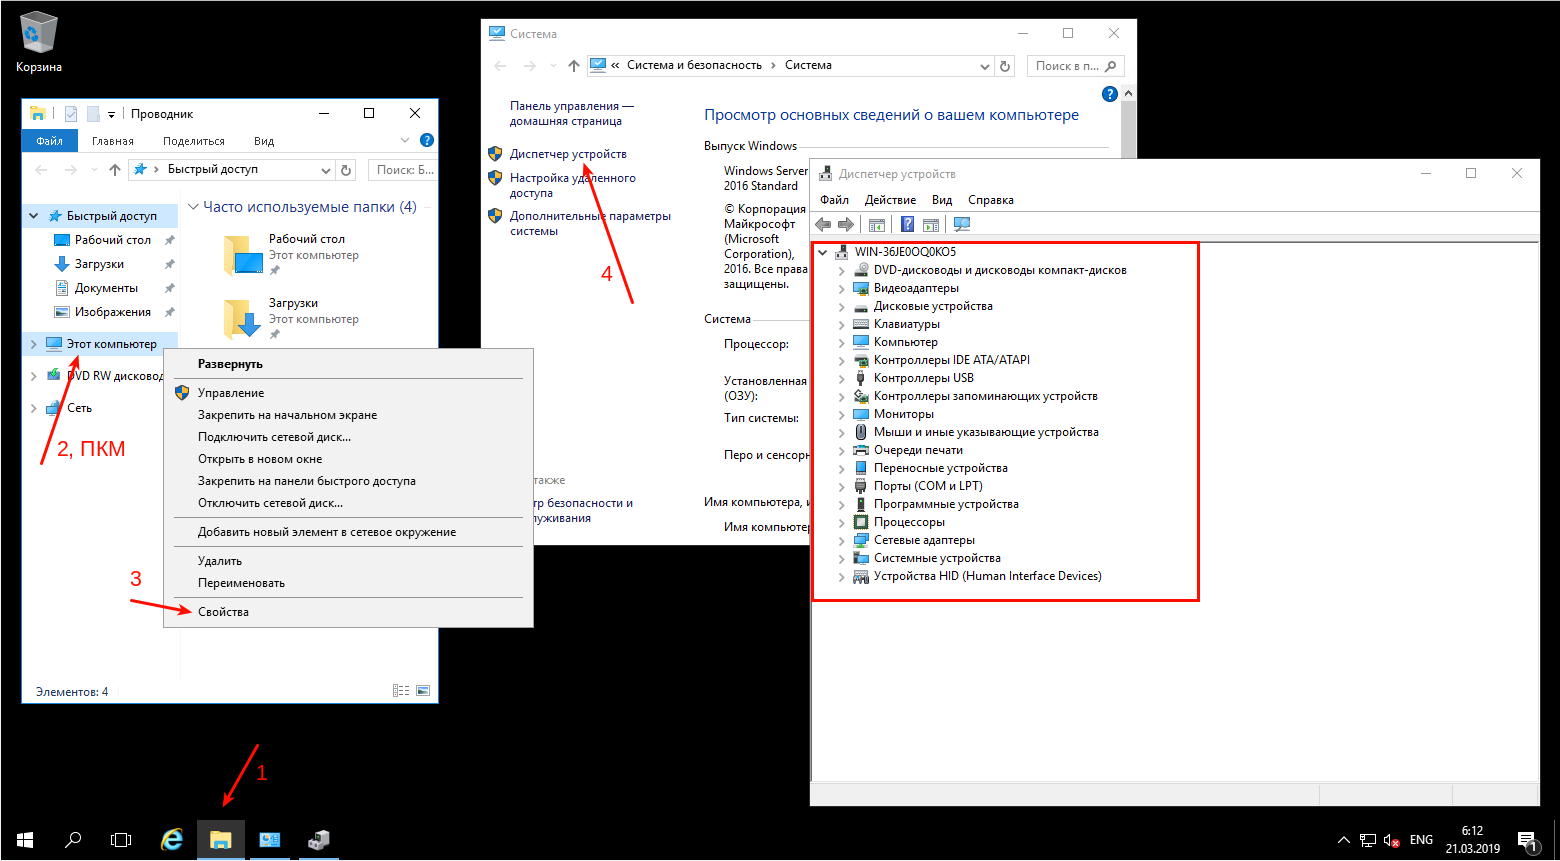
If there are unidentified devices, drivers for them need to be installed manually. It is recommended to use official drivers if they are available. If it is not possible to identify the unidentified device, you can try to do so by its VEN/DEV codes. You can determine them as follows: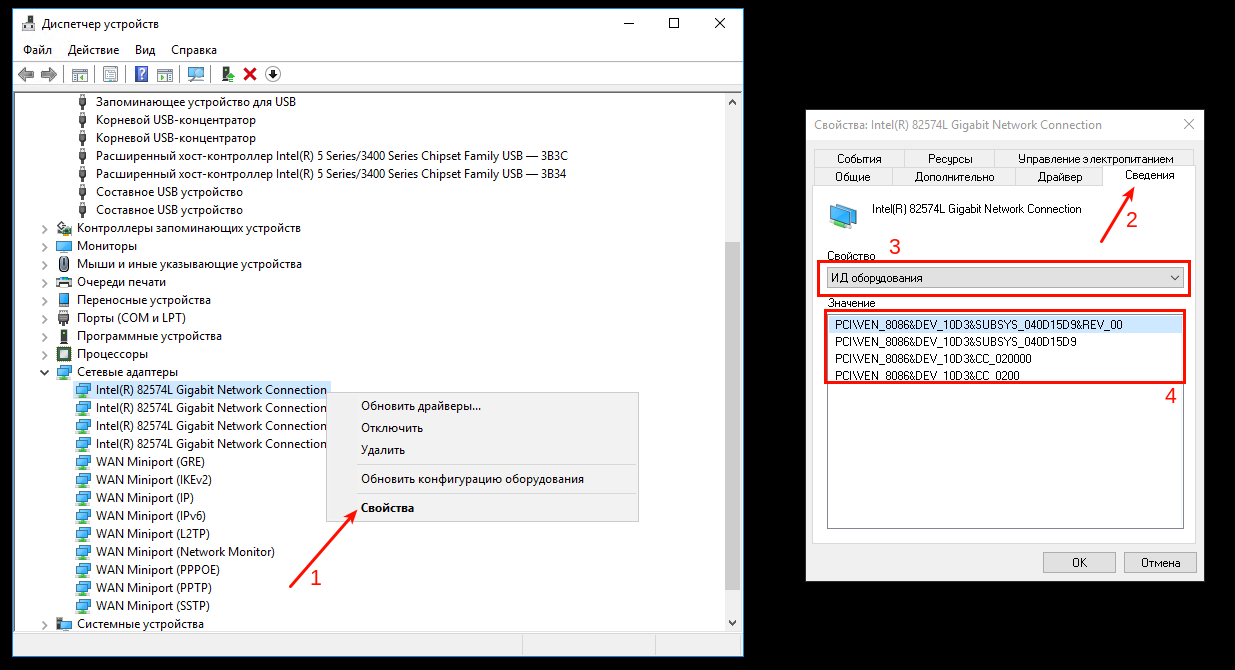
An example of a resource where you can search for drivers directly using a string like "PCI\VEN_8086&DEV_10D3…" is devid.info.
Windows update
To check for updates, open Start → Settings → Update & Security and click Check for updates. The update process may take quite a long time.
Software RAID 1
When installing the system, only one physical disk should be used, and the second should remain completely clean and untouched. Before configuring RAID, the system must be fully installed and configured.
- Open "Disk Management" ("Server Manager → Tools → Computer Management" then in the list on the left "Disk Management").
- Agree to the initialization of the second disk. MBR or GPT depends on whether the system was installed without UEFI (in most cases MBR) or with UEFI (GPT).
- Right-click on each of the logical partitions of the primary (first) disk and select "Add Mirror" on the second disk. If the "Add Mirror" option is inactive for any of the partitions, deleting the logical partition and then simply adding it again directly through "Disk Management" may help.
- Wait for the resynchronization process to complete (it starts automatically after adding mirrors). The process may take a long time. In the "Disk Management" section, the second disk will be displayed with a warning during this time.
(1)