Manage cookies that are used for advertising, such as ad personalization, remarketing, and ad effectiveness analysis.
6.10. KVM usage
About KVM
KVM (an abbreviation for keyboard, video, mouse, not to be confused with the virtualization KVM — an abbreviation for Kernel-based Virtual Machine) provides full access to a dedicated server and ensures the transmission of monitor and input/output device signals. This allows you to work with the server as if you were physically present next to it. With KVM, you can perform operations that are not possible by other means, such as formatting a disk.
Activate
KVM is activated for 2 hours
If more time is needed, reactivate the KVM in 2 hours and obtain new access credentials. The system is fully automated, and manual renewal of access time is not possible.- In the "Dedicated" section, open the "KVM" tab.
- Click "Connect KVM", review the connection steps, and click "Connect KVM" again.
- Wait for the request to complete. This usually takes 5-10 minutes.
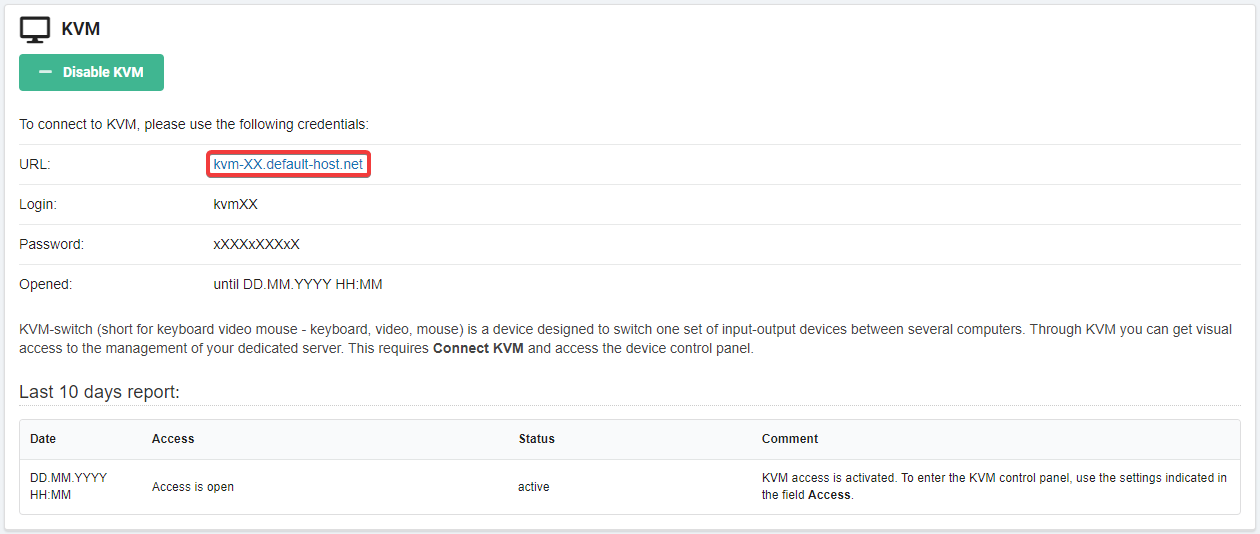
After activation, the KVM access data will appear on the tab and will be duplicated to the account's email.
Connect
Lantronix
The web client is suitable for situations where you need to quickly connect to the server without installing additional software and there is no need to connect an owl image to the server.
- In the KVM access data, follow the link from the line "URL":
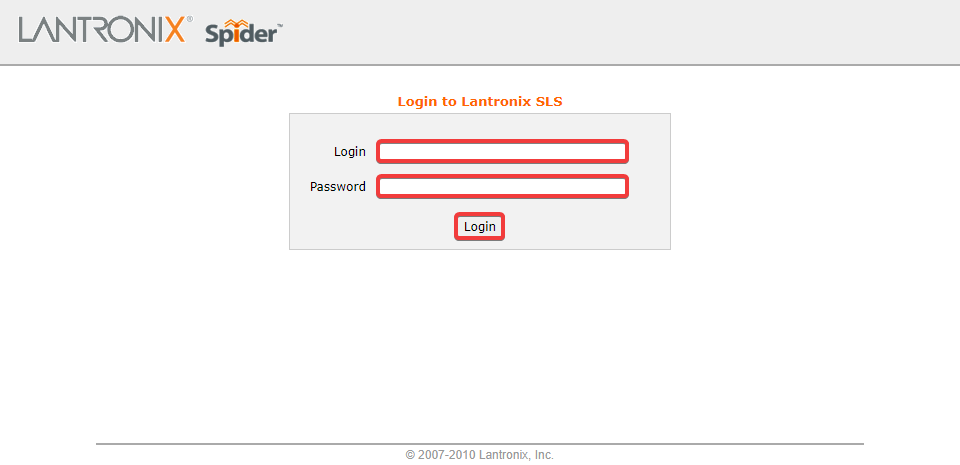
- Enter the login and password from the KVM access data and click "Login":
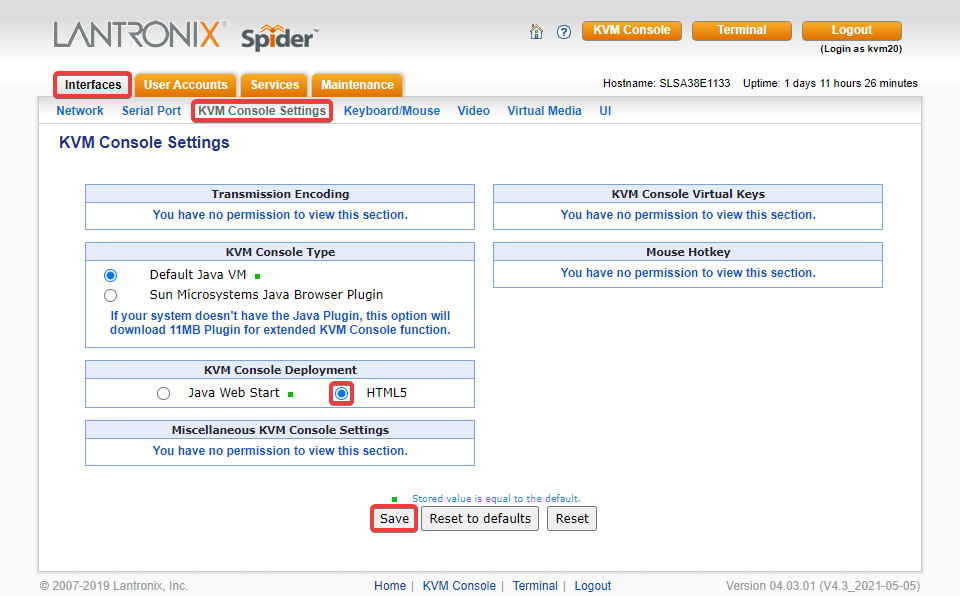
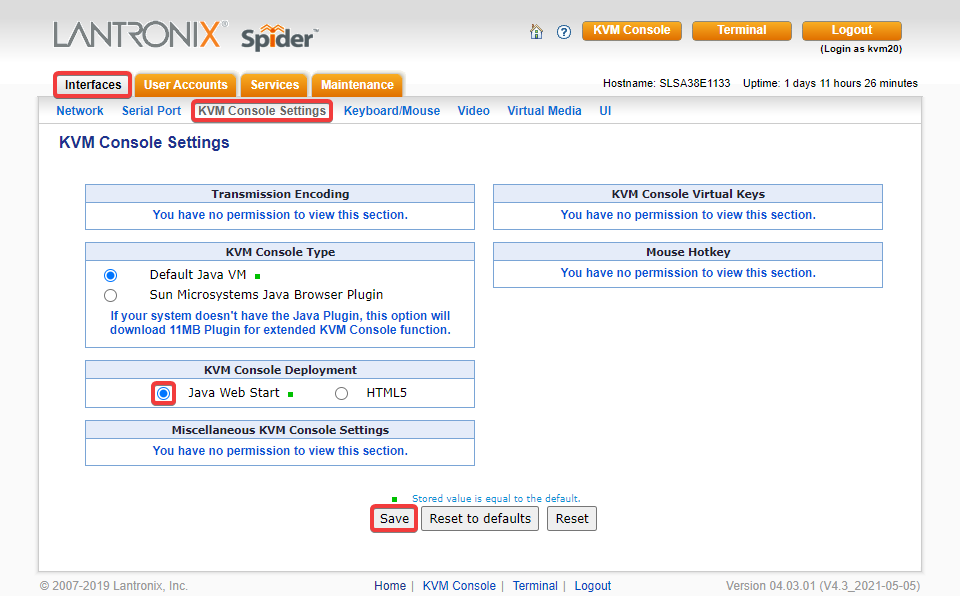
- Open the section "Interfaces → KVM Console Settings", in the "KVM Console Deployment" block, select "HTML5" and save the changes:
- Click "KVM Console" or "Click to open KVM Console":
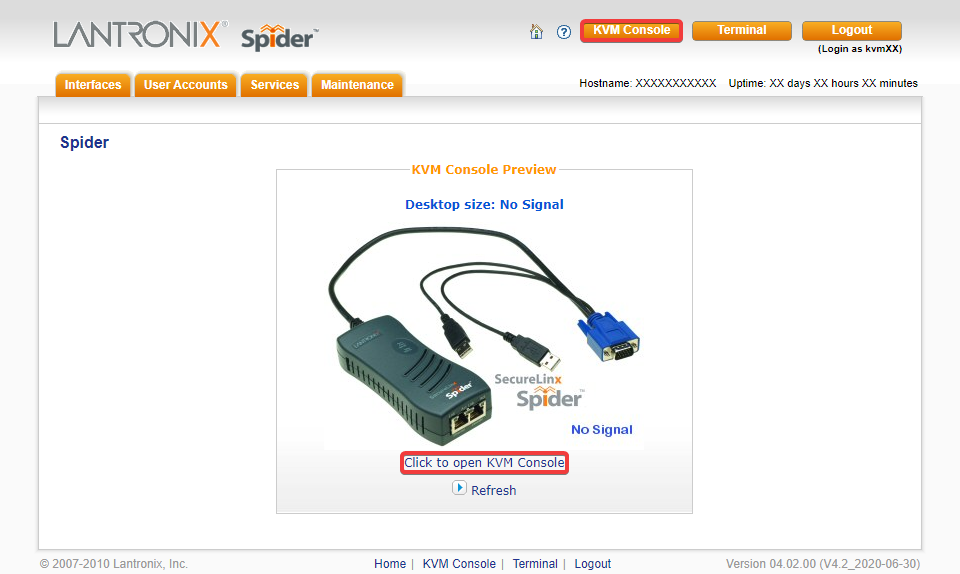
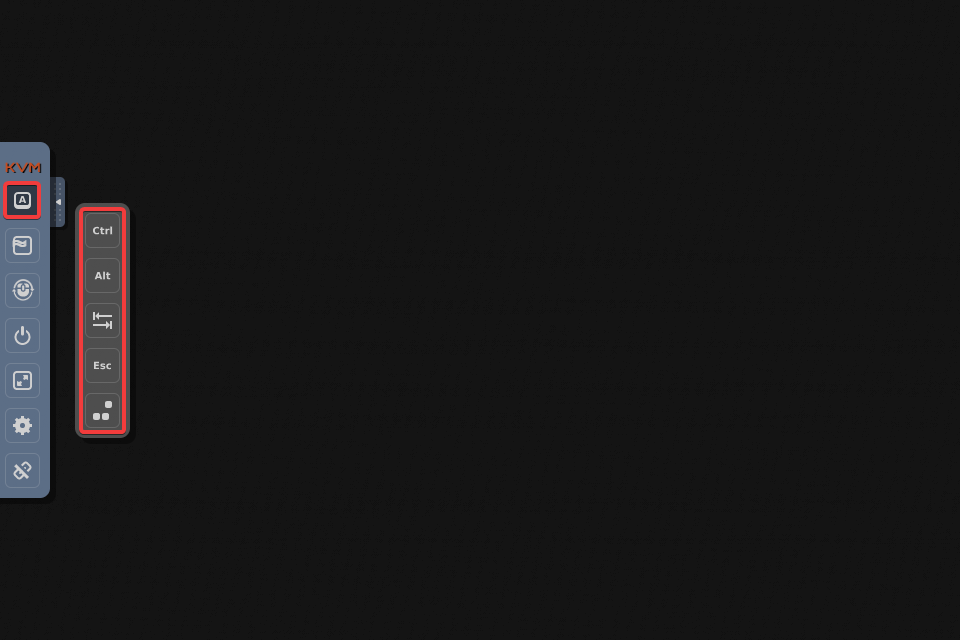
- If you see a black screen after connecting, press any key on the keyboard or on the side panel to bring the server out of power-saving mode:
After a successful connection, an image that the server displays on the screen will appear on the page.
The Java client is suitable for situations where you need to connect your own image to the server. To run the Java client on your PC, the Java Runtime Environment (JRE) must be installed.
- In the KVM access data, follow the link from the line "URL":
- Enter the login and password from the KVM access data and click "Login":
- Open the "Interfaces → KVM Console Settings" section, in the "KVM Console Deployment" block, select "Java Web Start" and save the changes:
- Click "KVM Console" or "Click to open KVM Console" — the
spider.jnlpfile will be downloaded: - Launch the downloaded file
spider.jnlpby double-clicking on it.If an ''Unsigned application'' error occurs when launching:
In the directory of the installed Java Runtime Environment (usually located in theProgram Filesdirectory on Windows), edit the filelib\security\java.security— find the linejdk.jar.disabledAlgorithms=MD2, MD5, RSA keySize < 1024, add a#at the beginning of the line, and save the changes.
After a successful connection, an image that the server displays on the screen will appear on the page.
Raritan
- In the KVM access data, follow the link from the line "URL":
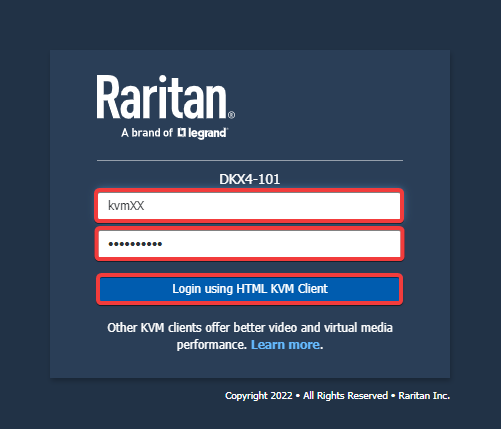
- Enter the login and password from the KVM access data and click "Login using HTML KVM Client":
- Click "Connect" to connect to the server terminal:
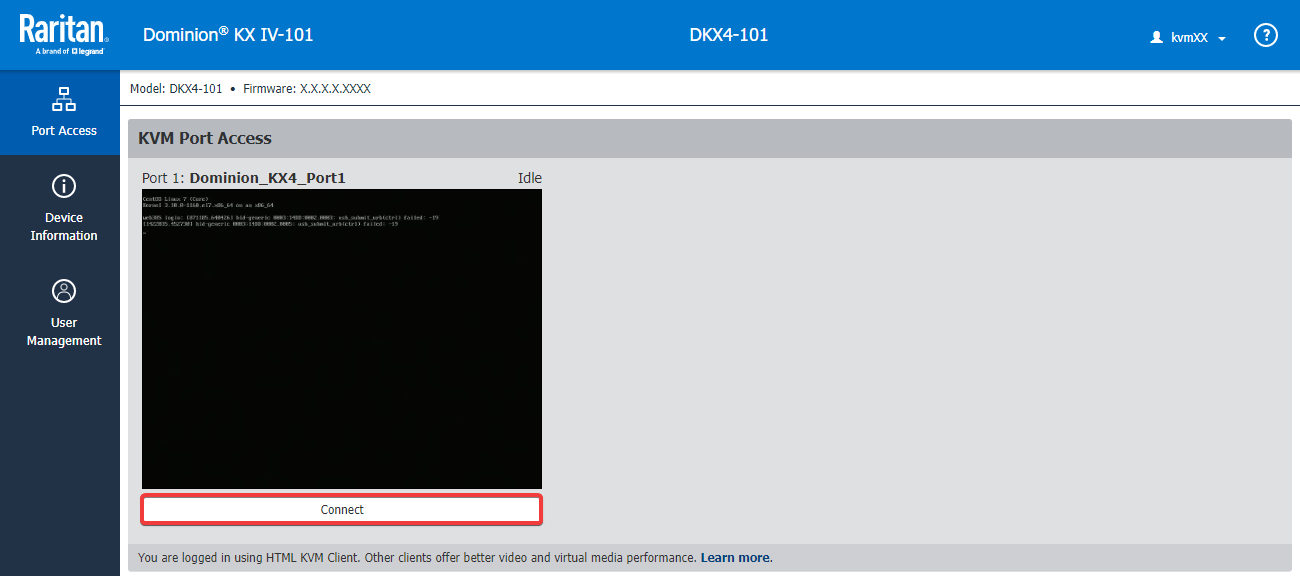
After a successful connection, a window will open displaying the image that the server outputs to the screen.
Load from own image
The server can be booted from its own image in ISO format. The method of connecting the image depends on the KVM being used.
Lantronix
- Connect to KVM using the Java client.
- Connect your image — click 💾, then "Connect ISO" and select the desired image on your device:

- Restart the server using the shortcut Ctrl+Alt+Delete:

After the reboot, the server will boot from the connected image.
Raritan
- Connect to the KVM.
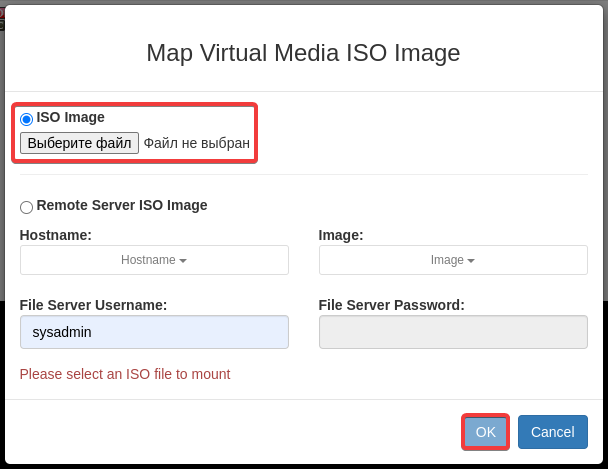
- Connect your image — click 💿 and select the desired image on your device:

- Restart the server using the shortcut Ctrl+Alt+Del:

After the reboot, the server will boot from the connected image.
(1)