Manage cookies that are used for advertising, such as ad personalization, remarketing, and ad effectiveness analysis.
2.14.4.6. Transfer MODX
To properly transfer a MODX site, it is usually sufficient to follow these steps:
- If site is active, perform the following actions:
- Log in to site admin panel.
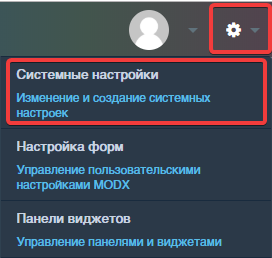
- Go to "Settings → System settings":
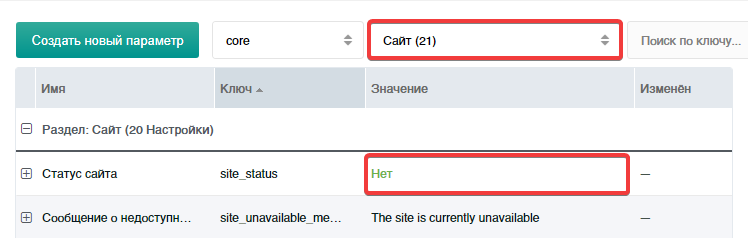
- In drop-down list, select "Site" and find "Site status" value in table; double-click "Yes" value to open parameter for editing and change it to "No":
- In "Management" section, click "Clear cache" and "End all sessions":
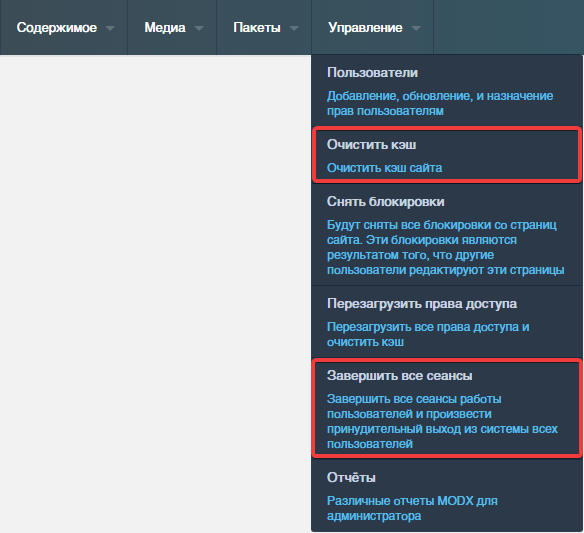
- Additionally, manually clear site cache.
- Transfer site files and database (if required) using instructions appropriate for your situation.
- In configuration file
config.inc.php, if it exists, adjust the absolute path to thecoredirectory of the site. Path to the site directory must have the form/home/user/example.com/www/core, where instead ofuseryou must specify the hosting account name, and instead ofexample.com/www— path to site files.- If, after changing paths in the
config.inc.phpfile, site displays a 503 error, you should additionally check paths specified in configuration files/core/config/config.inc.php,/manager/config.core.php,/connectors/config.core.php. Such changes may be required when using older or modified versions of CMS, since by default it is sufficient to perform only the previous step.
- If another domain will be used after the transfer, in the configuration file
/core/config/config.inc.phpchange the site address to the new one in the line with the$http_hostparameter (the example shows the site addressexample.com):$http_host='example.com'; - If site was not available and cache was not cleared, then this should be done manually, since use of outdated cache may lead to problems in site display.
- Check the site operation.