Manage cookies that are used for advertising, such as ad personalization, remarketing, and ad effectiveness analysis.
2.14.19. Auto-install CMS
Important points:
- The automatic CMS installation system only simplifies the installation process; further operation and updating of the CMS depends solely on the CMS itself and the actions of the site owner.
- Automatic CMS installation is not available:
- During migration of hosting account between servers, e.g. during changing of country, changing of MySQL version, etc.
- When installing older versions of WordPress, the line
define( 'AUTOMATIC_UPDATER_DISABLED', true );is added towp-config.php. This prevents automatic updates from running when you log into the admin panel and allows you to use the version that was installed. For the latest version, auto-update is enabled by default.
A number of CMS on hosting can be installed in fully automatic mode, without the need to manually upload files to the hosting, unpacking, etc.
Supported CMS
Business hosting only:
If the desired CMS is not listed
Download the distribution package from the official CMS site, place it on your hosting, and perform the installation manually.Examples of instructions for manual CMS installation: Magento, MediaWiki, Open Journal Systems (OJS).
Procedure
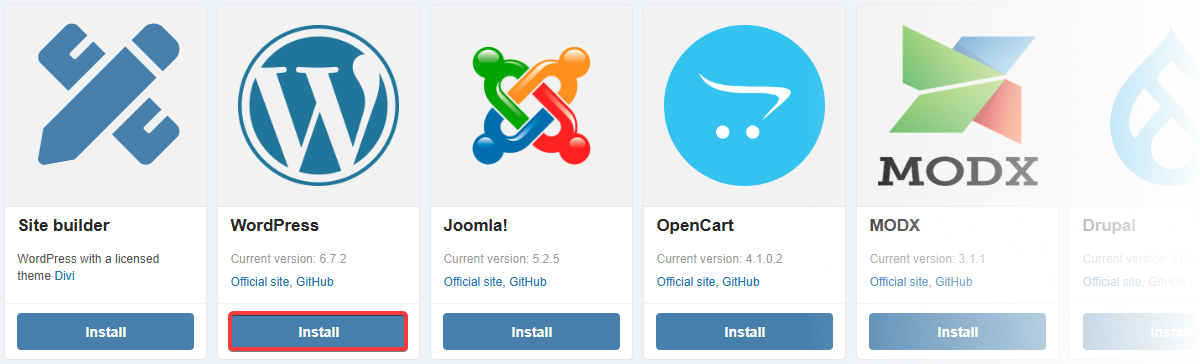
- Open the "Hosting → My sites → your site → CMS install" section.
- In the block with the desired CMS, click "Install":
- Fill out the form (the set of fields depends on the CMS) and click "Install":
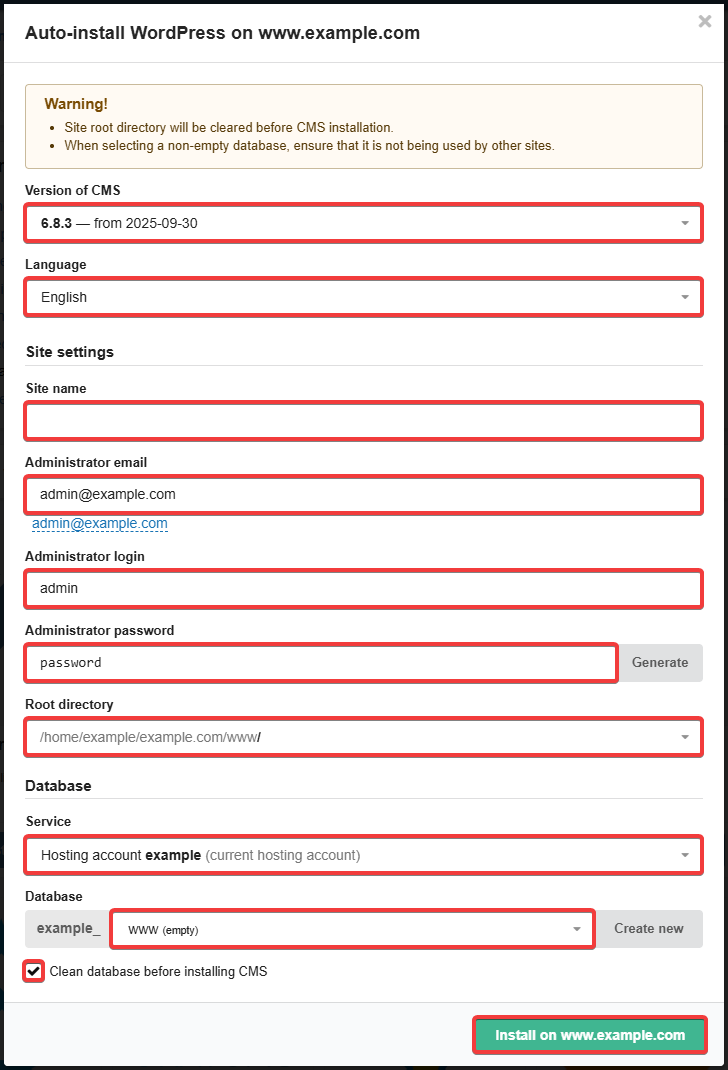
- CMS:
- Version of CMS — which CMS version should be installed.
- Language — the language in which to install the CMS.
- Site settings:
- Site name — arbitrary name of your site.
- Administrator email — by default, the address of the form
admin@example.comwith the site domain is used (if mailbox with this name exists) or account email. - Administrator login — by default, the standard
adminis used. - Administrator password — by default, an automatically generated password is used.
- Root directory — which directory to install to: standard (by default) or custom. The field is displayed only if a custom directory is specified.
- Database:
- Service — which service does the database that CMS will use belong to: hosting account or standalone MySQL service.
- Database — select a database (for a standalone MySQL service, you will also need to select a DB user and specify their password).
- Clean database before installing CMS — if enabled, the selected database will be cleaned before installation begins.
- Wait for the installation to complete.
- Check the operation of the site and its admin panel (you can view the credentials by clicking "CMS parameters" button):

(5)