Manage cookies that are used for advertising, such as ad personalization, remarketing, and ad effectiveness analysis.
2.14.6.1. Install OkayCMS
Automatic install
See CMS auto-install.
Manual install
Prepare
- Download the archive with the latest OkayCMS distribution to your PC from the official site.
- Place the distribution files on the hosting:
- Using file-manager or any FTP client, upload the archive to the root directory of the previously added site.
- Extract the downloaded archive using file manager.
- Move all contents of the
OkayCMSsubdirectory to the site root directory.
- Prepare database:
Install
- Open site in browser.
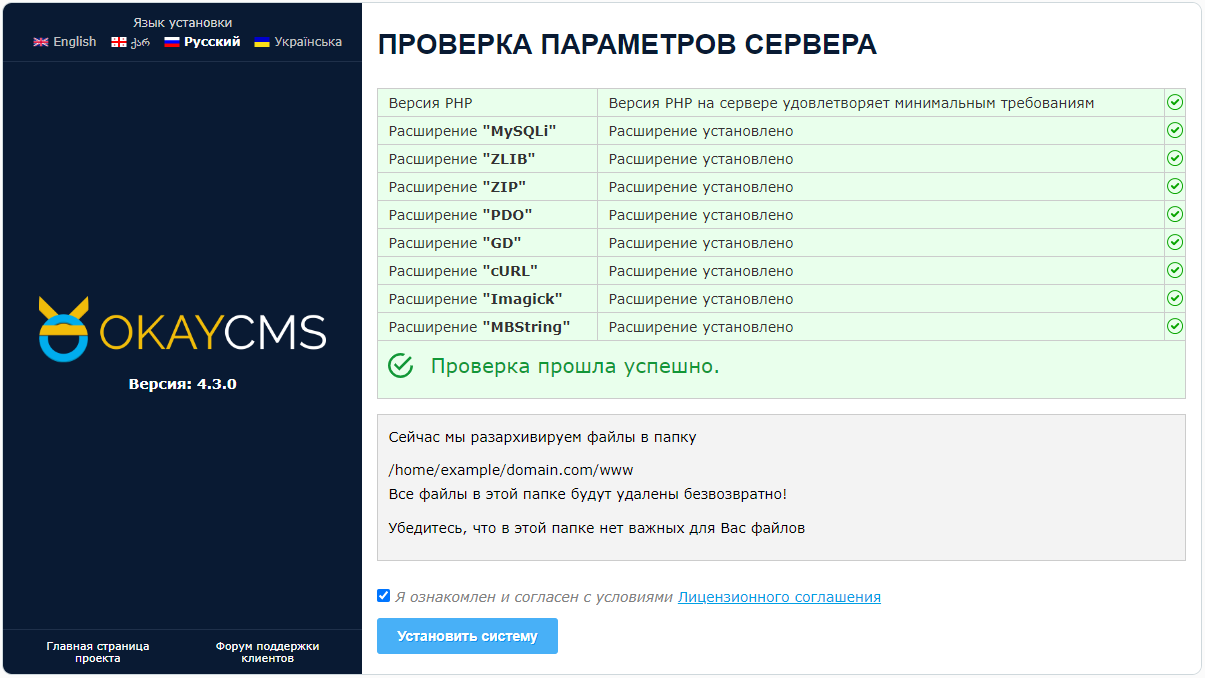
- Review server parameter check results, accept the license agreement, and click "Install system":
- Specify database connection settings and click "Establish connection":
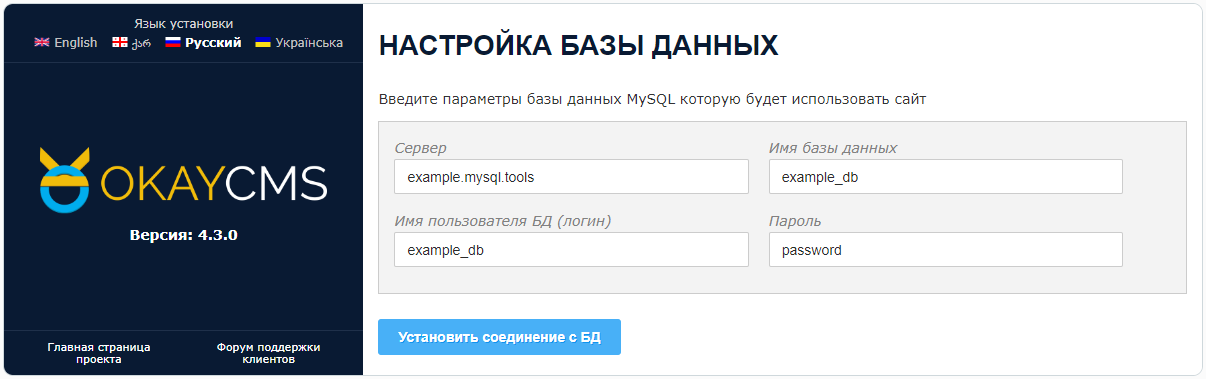
- "Server" — database host.
- "Database name" — database name.
- "Database username (login)" — database user login.
- "Password" — database user password.
- Specify administrator data (used to access site admin panel) and site data, then click "Finish installation":

- "User login" — administrator login.
- "Password for admin panel" — administrator password.
- "Administrator email" — administrator email address.
- "Admin panel language" — required admin panel language.
- "Site name" — full site name (used on site pages and during indexing).
- "Email for notifications" — email for receiving notifications from the site.
- "Primary site currency" — currency for the site.
- "Site language" — default language for the site.
- "Default region for phone number" — is responsible for validating correct phone number entry.
- "Phone numbers for site" — a number (or several numbers separated by commas) that is shown in site contact information.
- "Email for contact information" — email, which will be provided in the contact information section of the site..
- Check the site operation.
(1)