Manage cookies that are used for advertising, such as ad personalization, remarketing, and ad effectiveness analysis.
2.17.1.1.2. Enable and disable traffic filtering in Cloudflare
For detailed information on working with Cloudflare, see the official documentation.
Enable
Attention!
Enable this mode only when traffic filtering is really necessary.- Connect domain to Cloudflare.
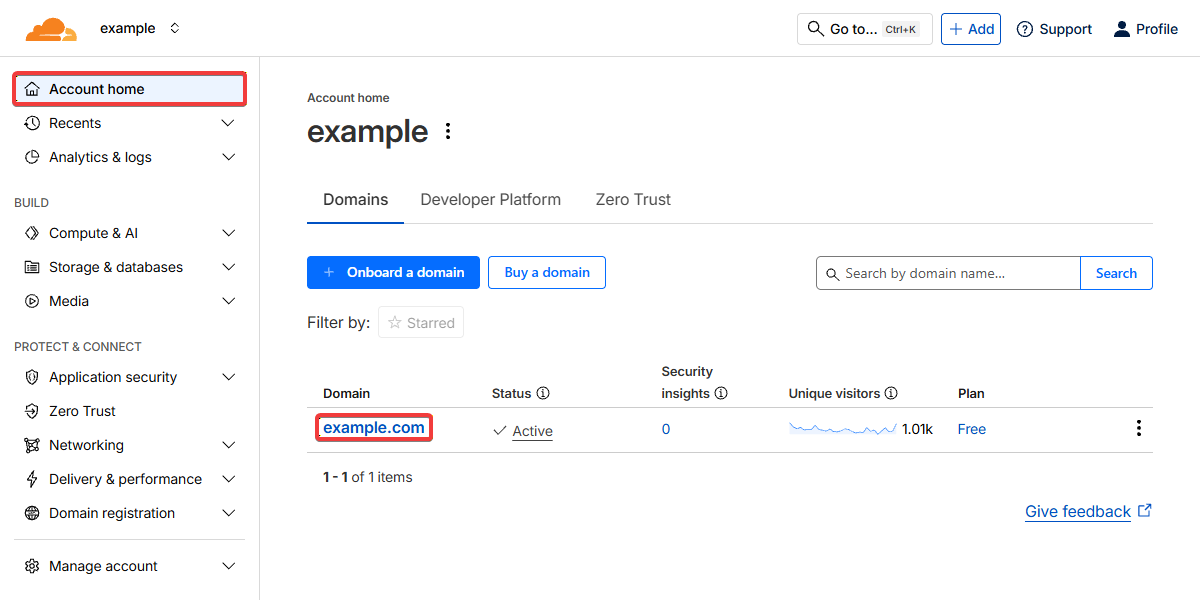
- On the Cloudflare control panel home page, click on your domain:
- In the "Overview" section in the right pane, enable "Under Attack Mode":

Disable
Notes:
- Disabling proxying allows you to quickly point the domain directly to the hosting. The domain will continue to be served on Cloudflare's NS.
- To disable proxying for multiple DNS records at once, select the desired DNS records and click "Edit N records".
On your domain page, in the "DNS → Records" section, click "Edit" in the row with the DNS record, disable the proxying switch ("Proxied" should change to "DNS only"), and save the changes: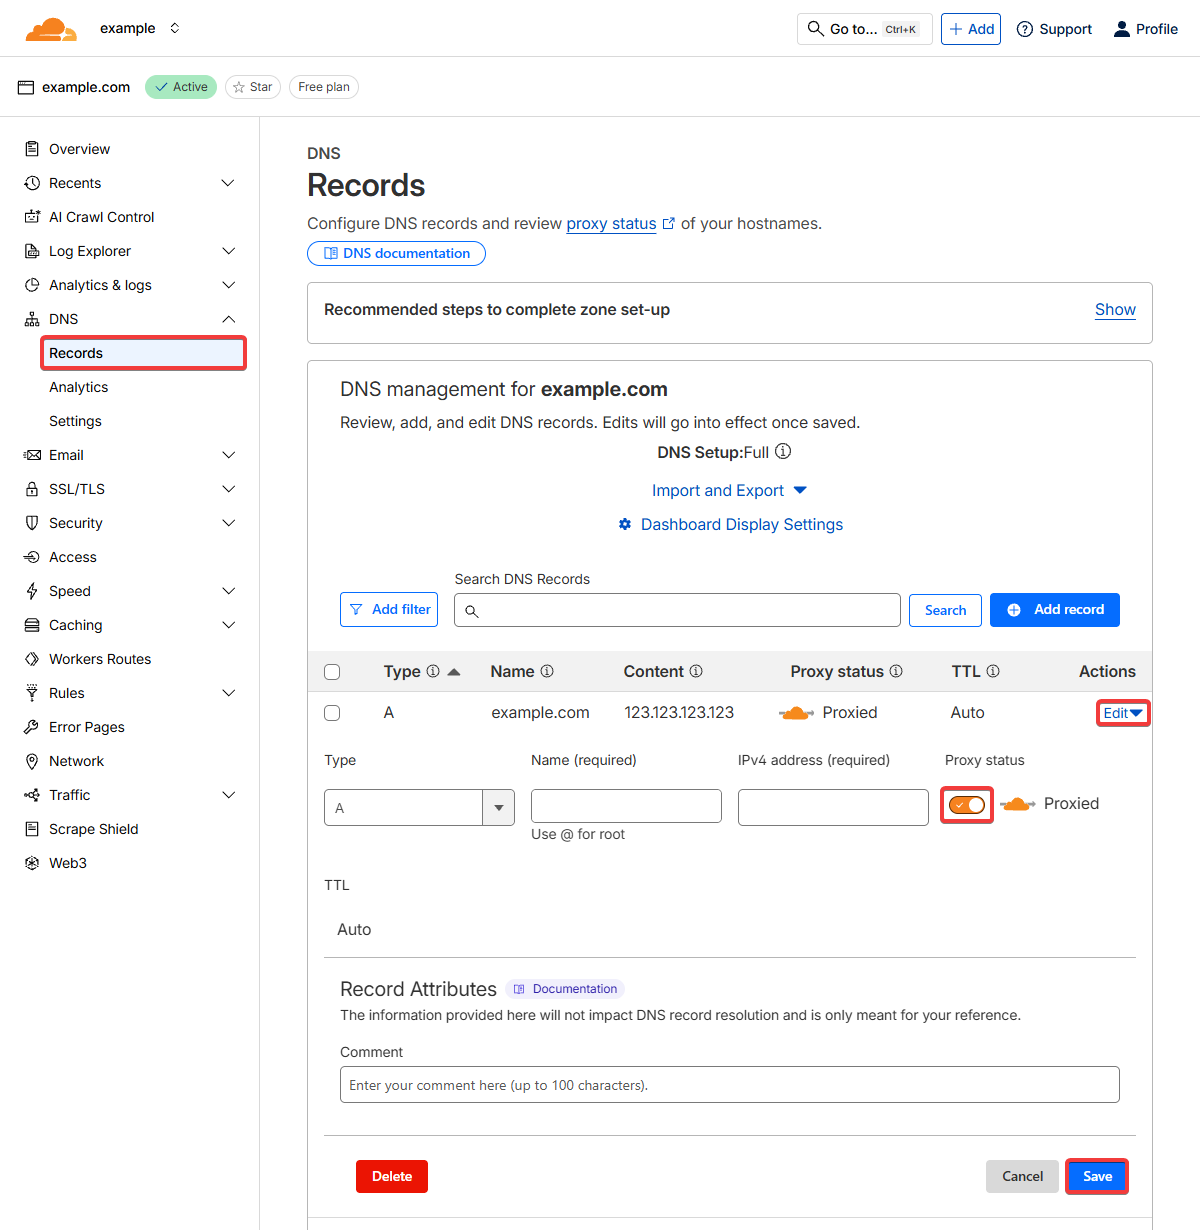
Repeat these steps for all DNS records for which you want to disable proxying.