Manage cookies that are used for advertising, such as ad personalization, remarketing, and ad effectiveness analysis.
5.2.7. Vesta
Attention!
Vesta is practically not being developed. We recommend using a more up-to-date control panel, such as one of its forks — Hestia or myVesta.Vesta — free control panel with open source code.
Supported OS
Red Hat Enterprise Linux (RHEL), CentOS, Debian, Ubuntu. For more details, see official documentation.
Install
Notes:
- System requirements and installation instructions are described on the official site. There you can also generate your own command to install the panel with the set of services you need.
- It is better to use
proftpdas an FTP server.
- Connect to the server via SSH with root privileges.
- Run the downloaded script (the command already considers the recommendations mentioned above):
bash vst-install.sh --nginx yes --apache yes --phpfpm no --named no --remi yes --vsftpd no --proftpd yes --iptables yes --fail2ban yes --quota no --exim yes --dovecot yes --spamassassin yes --clamav yes --softaculous yes --mysql yes --postgresql no - Answer the installer's questions and wait for it to finish.
After installation, use an address like https://xxx.xxx.xxx.xxx:8083 to access the control panel, where xxx.xxx.xxx.xxx — IP address of your server. The login and password will be displayed in the terminal window and sent to the email address specified during the installation process.
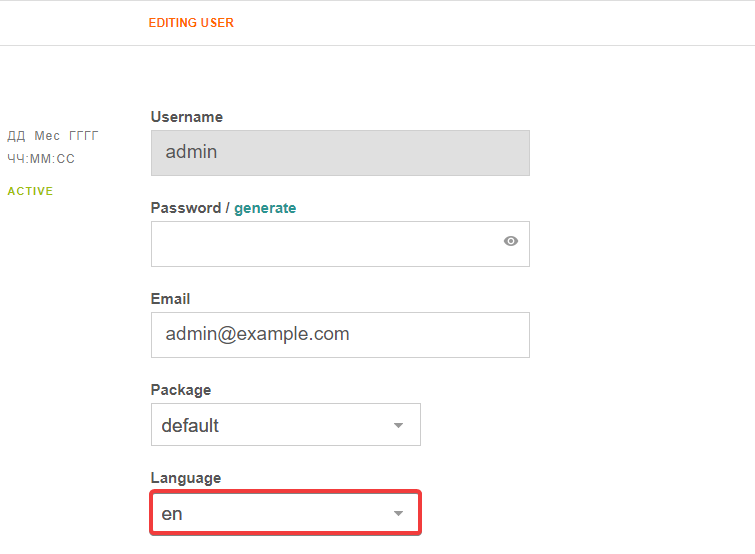
Change interface language
The default interface language is English.
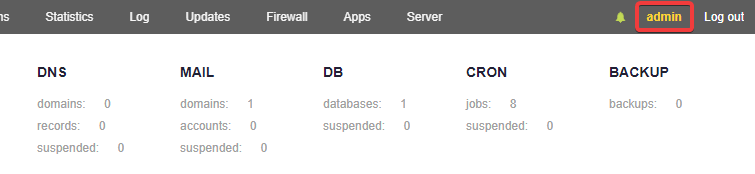
- In the upper right corner, click "admin":
- In the "Language" field, select the desired language and click "Save" at the bottom of the page:
Sites
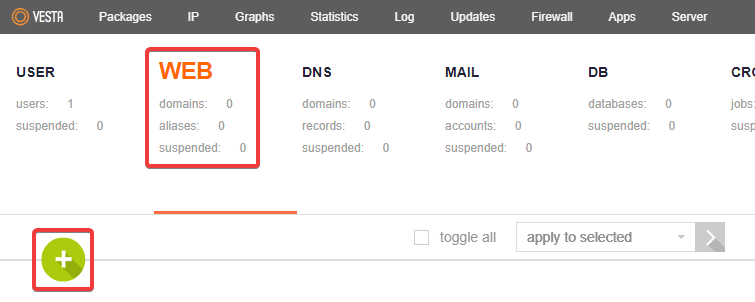
Add site
- Switch to the "WEB" tab and click ➕:
- Enter the site details and click "Add":
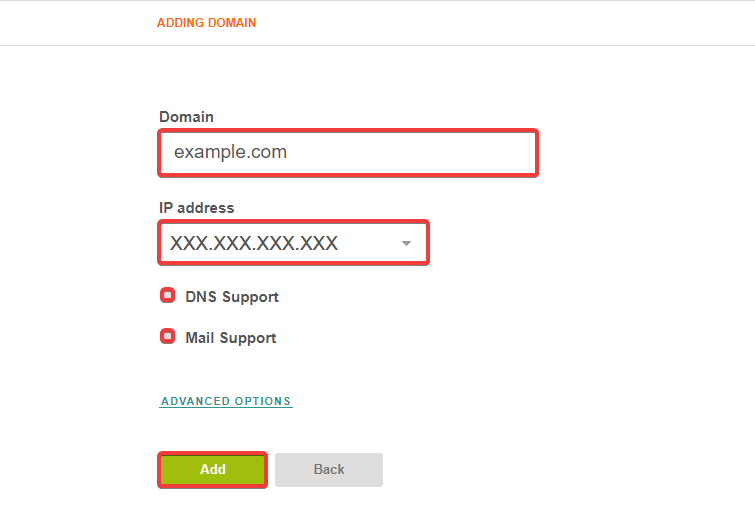
- "Domain" — domain of the site being added.
- "IP address" — IP address from the list of available addresses.
- "DNS Support" — disable.
- "Mail Support" — disable.
- If the domain was pointed to VPS, check the site in your browser. You should see the following placeholder:

Site directory
The files for the added site should be placed in the /home/admin/web/example.com/public_html directory, where admin — directory of the user under whose account the site was added, and example.com — name of the domain specified when adding the site.
By default, there will be two files in the site directory:
- Index file with automatically generated placeholder.
- The
robots.txtfile.
Connect free certificate from Let's Encrypt
Attention!
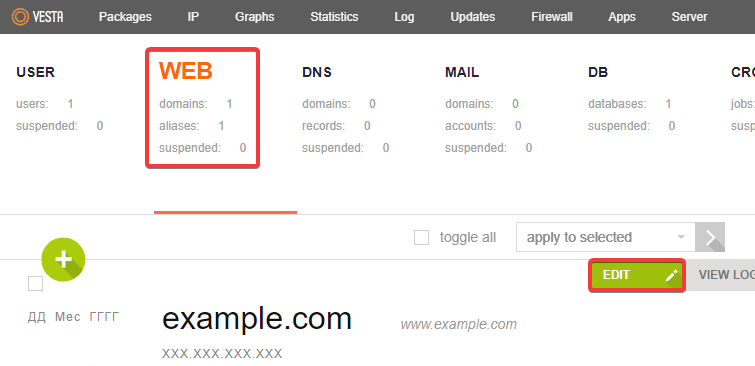
The domain of the site must be correctly pointed to VPS.- Switch to the "WEB" tab, hover over the desired site, and click the green "EDIT" button:
- Enable "SSL Support", enable "Lets Encrypt Support", in the "SSL Home" field, leave
public_htmland at the bottom of the page, click "Save":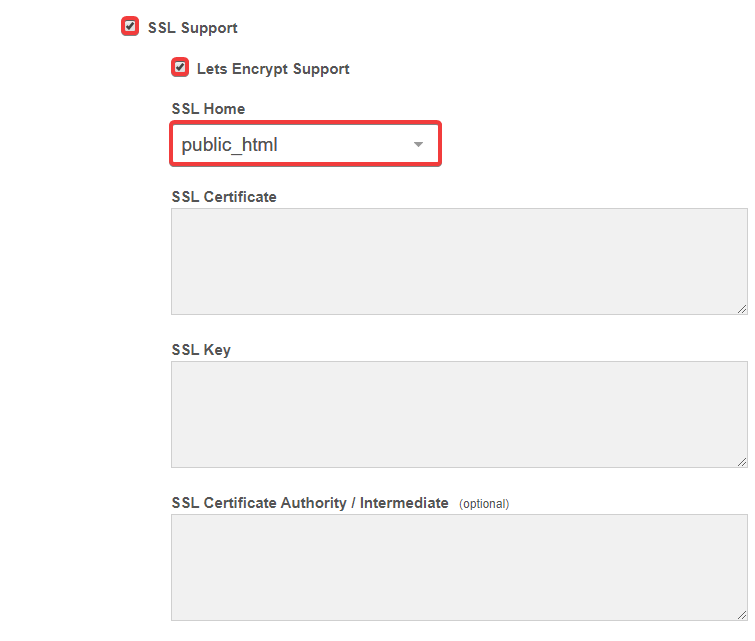
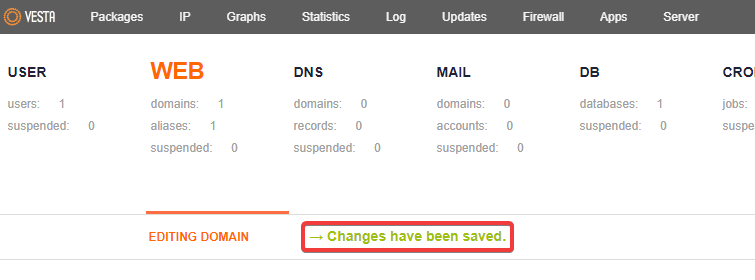
- If everything goes well, the message "Changes have been saved" will appear:
 On the "WEB" tab, next to the site, you will see the note "SSL support: Lets Encrypt":
 In the site settings, the fields "SSL Certificate", "SSL Key" and "SSL Certificate Authority / Intermediate" will be filled in with the data of the connected certificate:
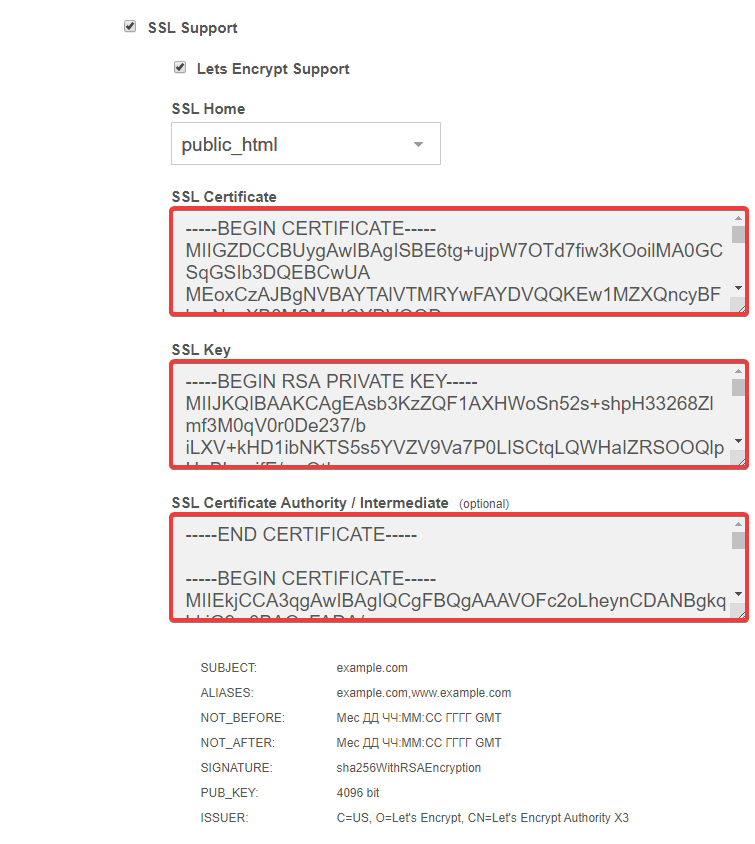
Once the certificate is connected, you can start configuring the site itself to work with the secure protocol. You can set up a redirect to HTTPS by placing an .htaccess file with the following content in the root directory of the site:
RewriteEngine On
RewriteCond %{HTTPS} off
RewriteRule (.*) https://%{HTTP_HOST}%{REQUEST_URI} [R,L]
Databases
Add database
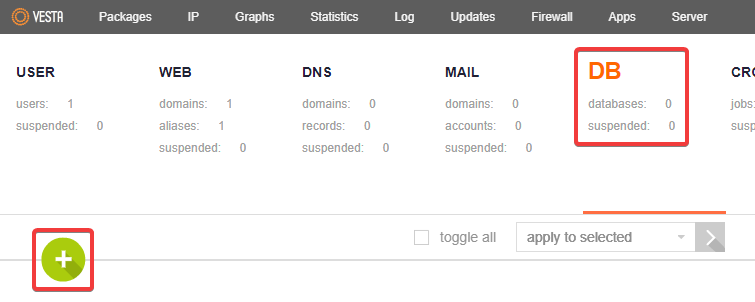
- Switch to the "DB" tab and click ➕:
- Enter the database details and click "Add":
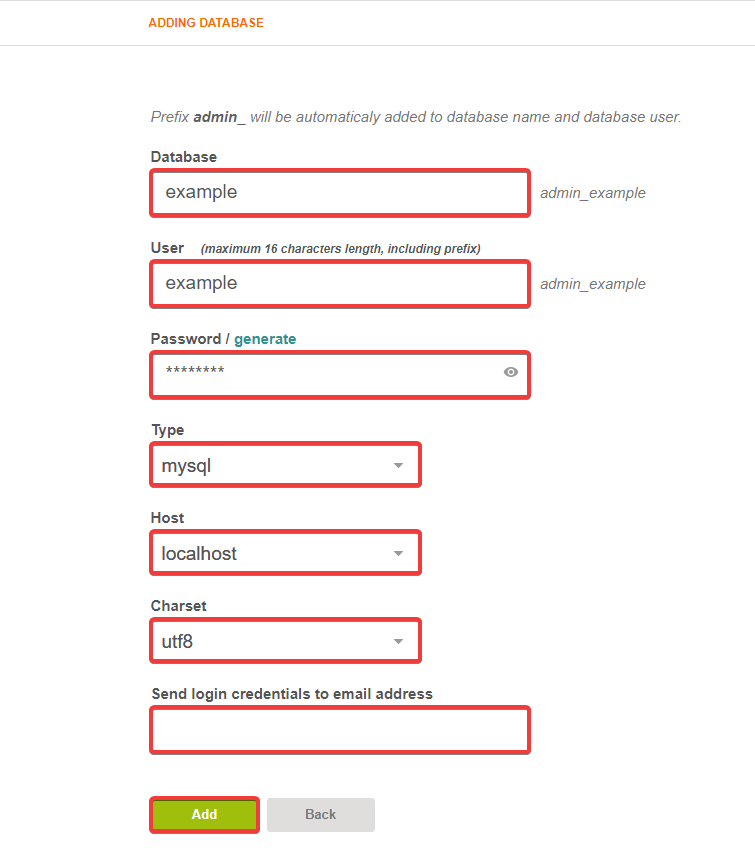
- "Database" — name of the database. A prefix with the panel user login is automatically added to the name.
- "User" — database user name. A prefix with the panel user login is automatically added to the name. The specified name together with the prefix must not exceed 16 characters.
- "Password" — database user password. Can be generated automatically using the "generate" button.
- "Type" — "mysql".
- "Host" — "localhost".
- "Charset" — "utf8".
- "Send login credentials to email address" — email address to which the database connection details will be sent.
phpMyAdmin
To open the created database in phpMyAdmin, click "PHPMYADMIN" on the "DB" tab and enter the database username and password: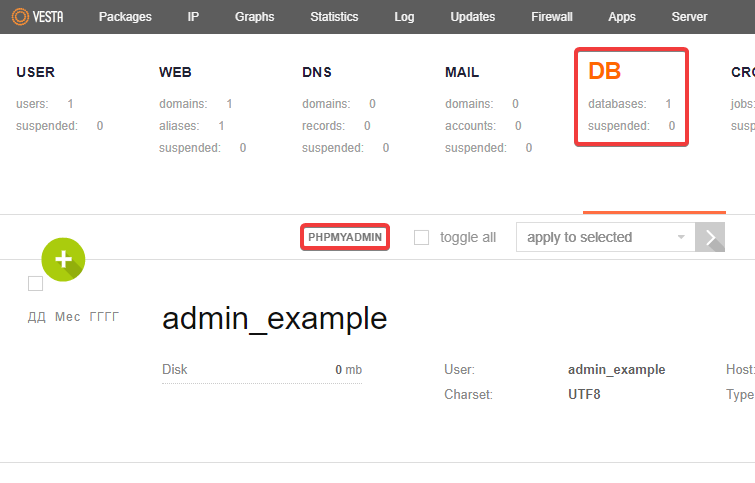
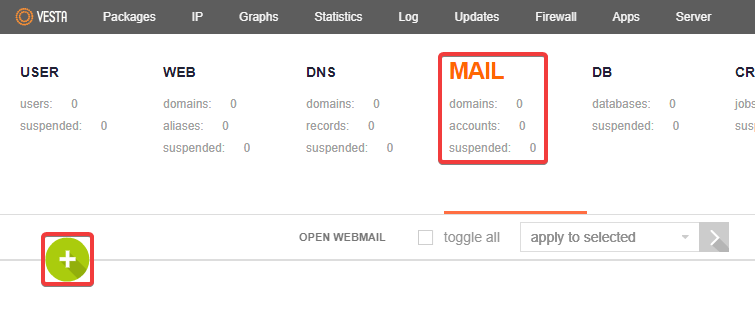
Create mailbox
- Switch to the "MAIL" tab and click ➕:
- Specify the mail domain, set the necessary parameters, and click "Add":

- "Domain" — mail domain.
- "Antispam Support" — enable to check all messages for spam.
- "Antivirus Support" — enable to check all messages for viruses.
- "DKIM Support" — enable to configure DKIM. ⚠️ DKIM support is set automatically if a domain of the same name has been added to the DNS system in Vesta. Otherwise, you need to additionally get a DKIM public key.
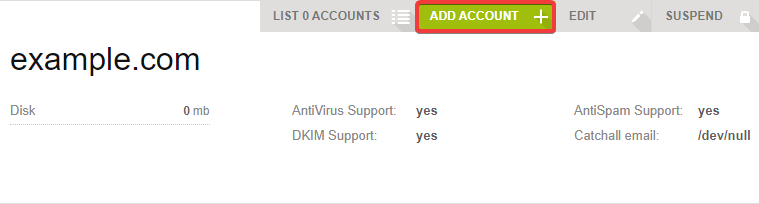
- After creating a mail domain, click "Back" or go to the "MAIL" menu from the first item, hover over it with the cursor and click "ADD ACCOUNT":
- Enter the details of the mailbox you are creating:
- "Domain".
- "Account".
- "Password".
- "Send login credentials to email address".
- All data for further connection will be displayed on this page in an additional block. Description of the block with access data located on the right:
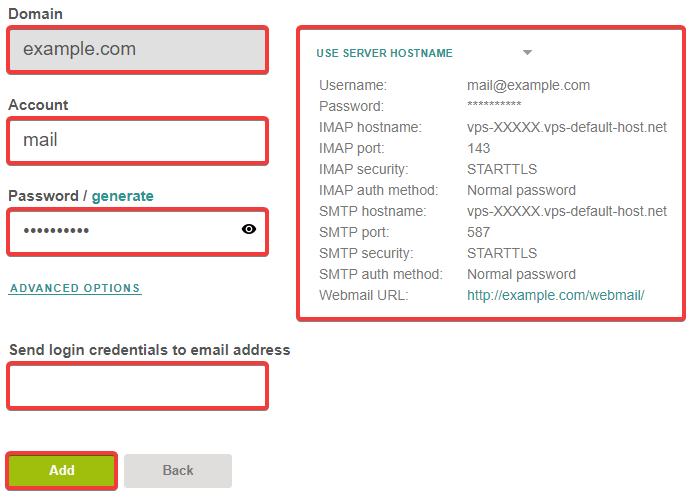
- "Username" — login for authorization.
- "Password" — password for authorization.
- "IMAP hostname" — server address for IMAP. You can use its IP address as the server address.
- "IMAP port" — port for connecting via IMAP.
- "IMAP security" — encryption type for IMAP.
- "IMAP auth method" — authorization method.
- "SMTP hostname" — server address for SMTP. You can use its IP address as the server address.
- "SMTP port" — port for connecting via SMTP.
- "SMTP security" — encryption type for SMTP.
- "SMTP auth method" — authorization method.
- "Webmail URL" — address of the mail client. You can use the server's IP address instead of the specified domain in the URL.
- Click on the "Add" button after successfully filling in all the fields.
- Check the connection to the server using the built-in webmail client or any other mail client.
- Configure the domain MX records to point to the IP address of VPS for further acceptance of messages to mailboxes located on the server.
Manual set up of SPF and DKIM
After setting up and creating mailboxes, it is recommended to set up SPF and DKIM records for them. The SPF record must be created independently, depending on the settings of the Vesta panel itself. In most cases, an IP address is used, and a record like this may be suitable:
v=spf1 a mx ip4:xxx.xxx.xxx.xxx ~all
Instead of xxx.xxx.xxx.xxx, use the IP address of VPS.
Getting a DKIM public key:
- Connect to the server via SSH with root privileges.
- Execute the command:
export VESTA=/usr/local/vesta/ - Execute the command to get the DKIM public key:
/usr/local/vesta/bin/v-list-mail-domain-dkim-dns admin example.comIn command:
- Instead of
admin— username under which the mail domain was created in the Vesta control panel. - Instead of
example.com— mail domain for which you need to get a DKIM signature.
- Copy the
mail._domainkeyrecord line from the previous command's result. It will look something like this:RECORD TTL TYPE VALUE ------ --- ---- ----- _domainkey 3600 IN TXT "t=y; o=~;" mail._domainkey 3600 IN TXT "k=rsa; p=MIGfMA0GCSqGSIXXXXXXXXXXXXXXXXXXXXXXXXXXXXXXXXXXXXXXXXXXXXXXXXXXXXX+FsN/9YOMojgLhwMzGDFOFZccPzxiXtRlZ0ek5CXLXgeQY+3HhQmCeJFz5RHykb84s/UGQFf/UyWUJS9o3BTpkWbgC9C4zqYvKTklMI511CEACfm+e07mOdfXjst31p9DP/TkQIDAQAB" - Add new record for the domain with the following data:
- "Subdomain" —
mail._domainkey. If the record is added for a subdomain, add the subdomain name to the string. - "Type" — "TXT".
- "Data" — the
VALUEstring for themail._domainkeyrecord from the output of the previous command. In the example above, this was the string:k=rsa; p=MIGfMA0GCSqGSIXXXXXXXXXXXXXXXXXXXXXXXXXXXXXXXXXXXXXXXXXXXXXXXXXXXXX+FsN/9YOMojgLhwMzGDFOFZccPzxiXtRlZ0ek5CXLXgeQY+3HhQmCeJFz5RHykb84s/UGQFf/UyWUJS9o3BTpkWbgC9C4zqYvKTklMI511CEACfm+e07mOdfXjst31p9DP/TkQIDAQAB
DNS
Install DNS server
- Connect to the server via SSH with root privileges.
- Install the Bind DNS server for your OS:
- Add to Vesta's configuration file in any of the following ways:
- Or edit the file manually:
nano /usr/local/vesta/conf/vesta.conf After opening the editor, you need to add the following line: DNS_SYSTEM='bind9' - Or add a line to the file with the command:
echo "DNS_SYSTEM='bind9'" >> /usr/local/vesta/conf/vesta.conf
- Check the DNS service in Vesta panel.
Configure DNS service
Attention!
If you encounter the error "Error: DNS_SYSTEM is not enabled" when working with Vesta panel, you should install DNS server.- Create child NS for the registered domain and point them to the IP address of VPS.
- Open Vesta Control Panel.
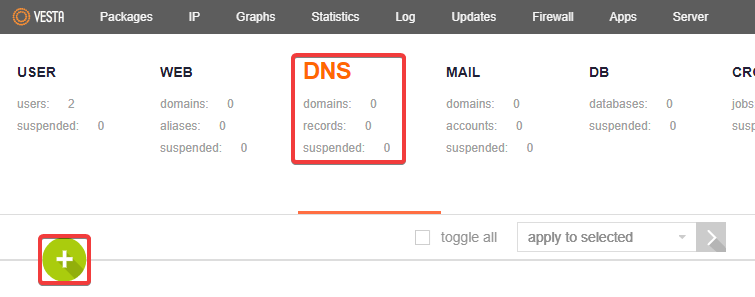
- Switch to the "DNS" tab and click ➕:
- Fill in the fields and click "Add":
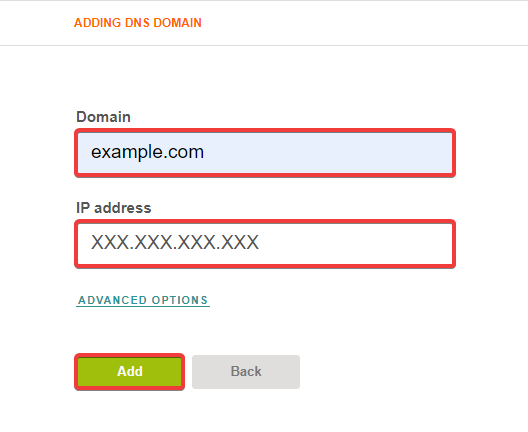
- "Domain" — domain for which child NS were created.
- "IP address" — IP address of VPS.
- On the "DNS" tab, click "Edit" in the domain row that will be used as NS:
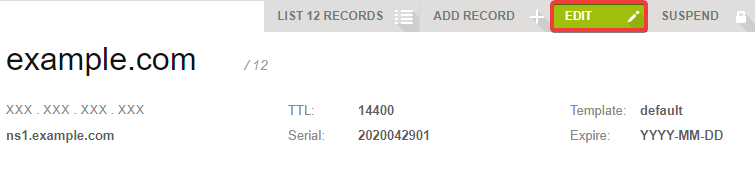
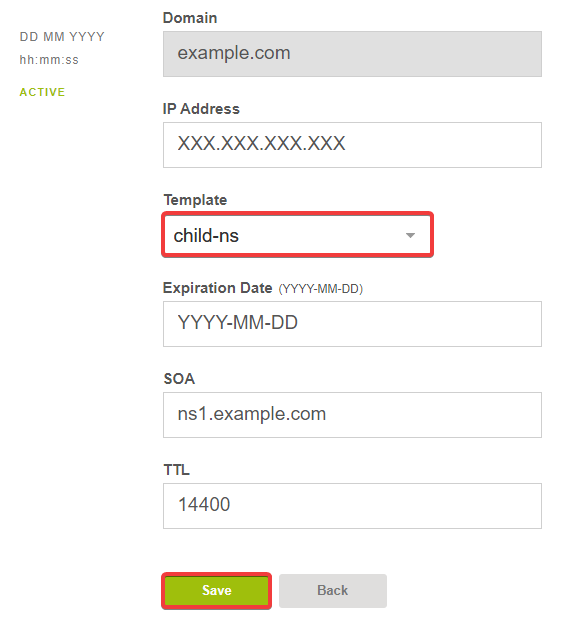
- In the "Template" field, select "child-ns" and click "Save":
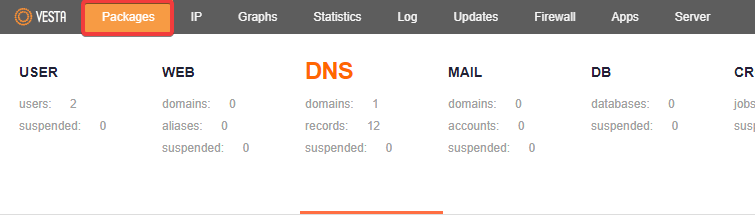
- Go to the "Packages" menu:
- Edit the default template by clicking the "Edit" button next to the template named "default":
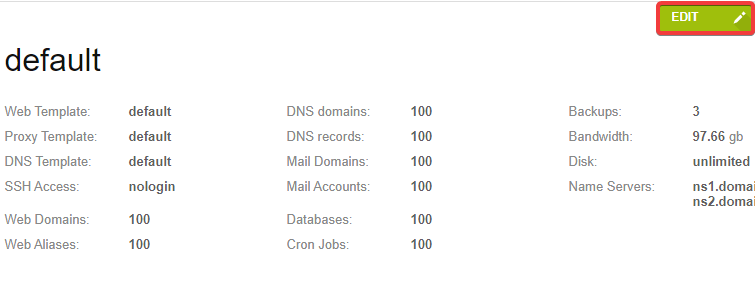
- At the bottom of the page, in the "Name Servers" fields, specify the previously created child servers and click "Save":

- All domains added to Vesta control panel will be configured to these NS by default. Previously added domains will need to be configured manually.