Manage cookies that are used for advertising, such as ad personalization, remarketing, and ad effectiveness analysis.
1.6. Access delegation
Attention!
You are solely responsible for all actions that may be performed by a third party with the service you provide access to.Important points:
- Only the service owner can delegate access.
- Access can be delegated only to a registered user.
- Access to actions that affect the cost of services (plan changes, management of paid extra services) is configured by the owner individually for each service (see below).
- Actions related to service ownership (domain transfer, ownership transfer, refusal of service) are available only to the service owner.
- Delegation is automatically disabled when ownership of the service is transferred.
- Delegation is not available when a verification procedure has been initiated but not completed in the service owner's account.
- Hosting accounts When delegating, access is granted to the entire contents of the hosting account, you cannot delegate access to an individual site. To grant access to a specific site's directory and its database, use the instructions: Temporary FTP access to specific directory and Temporary access to specific database.
flowchart LR
subgraph owner [Current owner]
service1["Service"]
end
subgraph user [Other user]
service2["Service"]
style service2 stroke-dasharray: 5 5
end
service1 -.->|Temporary access| service2
Delegation — granting temporary access to a service. After a service is delegated to another hosting user, it is simultaneously displayed in several control panels — in the panel of its owner and in the panel of users with delegated access.
Open access
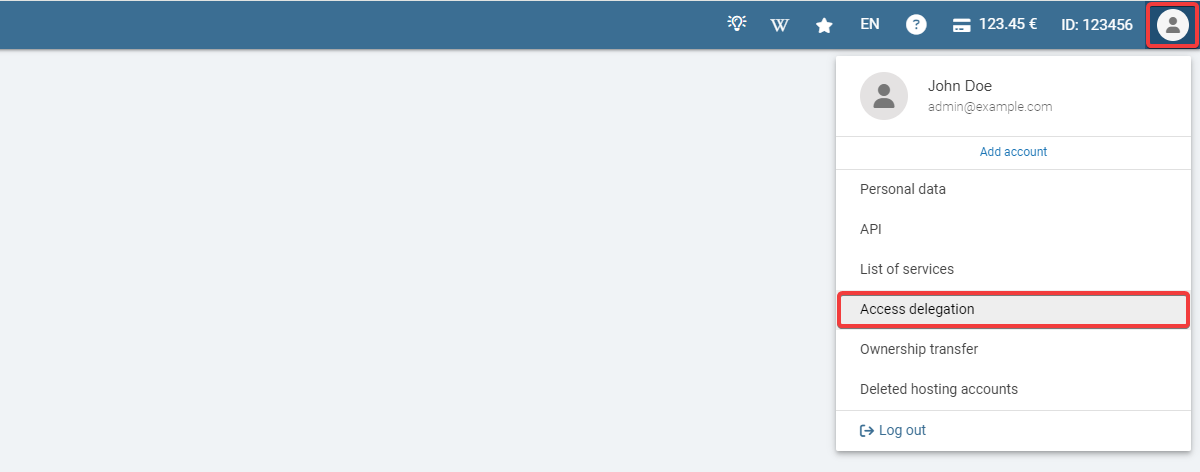
- Open the "Access delegation" section:
- Select the type of service and its name, specify the email address of the user who needs to be granted access, select access settings and click "Grant access":
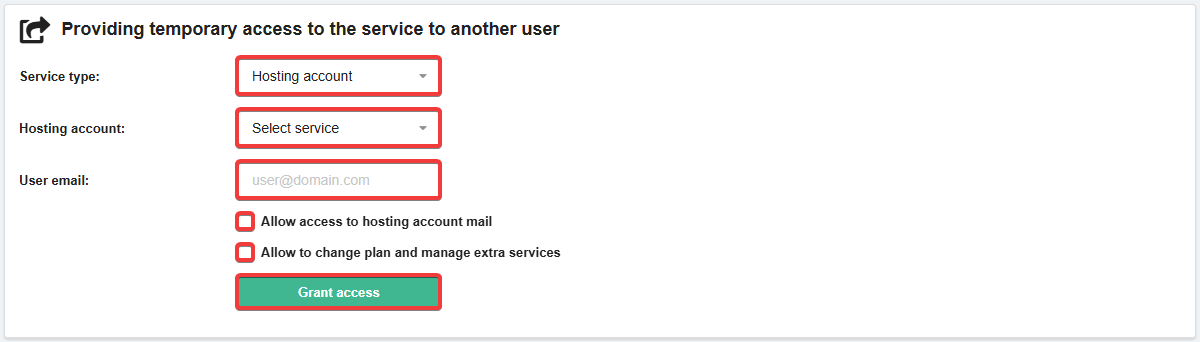
Access to the hosting account mail and actions that affect service cost are configured separately (see below).
- Open the "Hosting" section.
- In the "Hosting account" block (where DDoS protection, Firewall, server status, etc.), click "Access delegation".
- Specify the email of the user you want to grant access to and click "Grant access".
- Open the "Domains" section.
- In the domain menu, click "Delegate access".
- Specify the email of the user you want to grant access to and click "Grant access".
Access to actions that affect service cost is configured separately (see below).
- Open the section with the service.
- On the "Access delegation" tab, click "Grant access".
- Specify the email of the user you want to grant access to and click "Grant access".
Settings
Access to hosting account mail
For hosting accounts only.
If enabled, users with delegated access will be able to work with the hosting account mail (view the list of mailboxes, manage their settings, delete them, etc.).
Open the "Access delegation" section and enable or disable the "Access to mail" option in the "You have granted access" block:
Access to actions that affect service cost
For all services except domains.
If enabled, users with delegated access will be able to change the service plan and manage its extra services (order, change, delete).
Open the "Access delegation" section and enable or disable the "Plan change" option in the "You have granted access" block:
Revoke access
Owner
Open the "Access delegation" section and in the "You have granted access" block, click ❌ in the row with the service:
User with temporary access
Open the "Access delegation" section and in the "You have been granted access" block, click ❌ in the row with the service:
(6)