Manage cookies that are used for advertising, such as ad personalization, remarketing, and ad effectiveness analysis.
2.14.1.2.5. Configure Redis in WordPress
To use Redis in WordPress, you need to install and configure one of the specialized plugins.
Redis Object Cache
- Open the site admin panel.
- Install and activate the Redis Object Cache plugin.
- Edit the site configuration file,
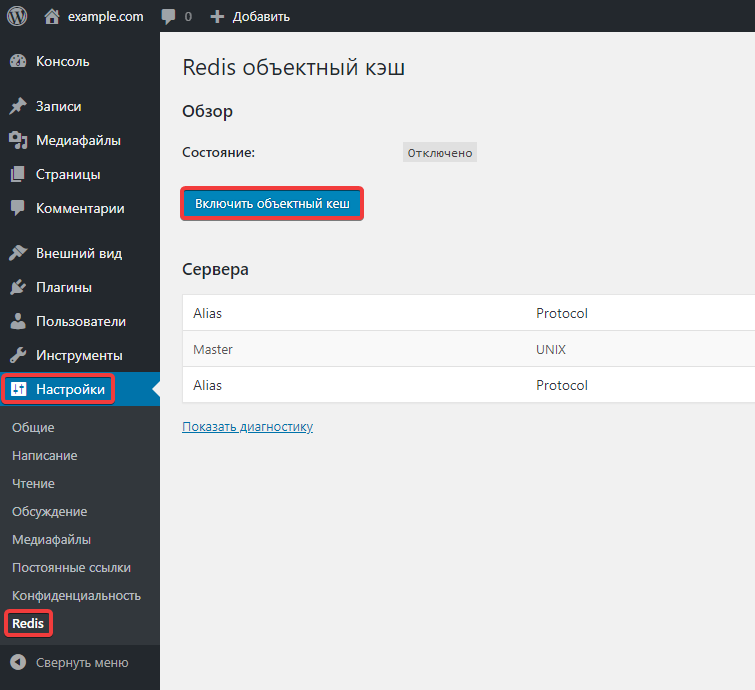
wp-config.php, and add the following lines at the beginning, right after<?php(in the second line, replaceexamplewith the name of the hosting account where the site is hosted; in the third line, replaceexamplewith a unique prefix for storing data in Redis, which is important when using Redis for multiple sites):define('WP_REDIS_SCHEME', 'unix'); define('WP_REDIS_PATH', '/home/example/.system/redis.sock'); define('WP_CACHE_KEY_SALT', 'example'); - In the site admin panel, go to the "Settings → Redis" section and click "Enable object cache":
 If everything is working properly, "Connected" should appear in the "Status" field at the top of the section:
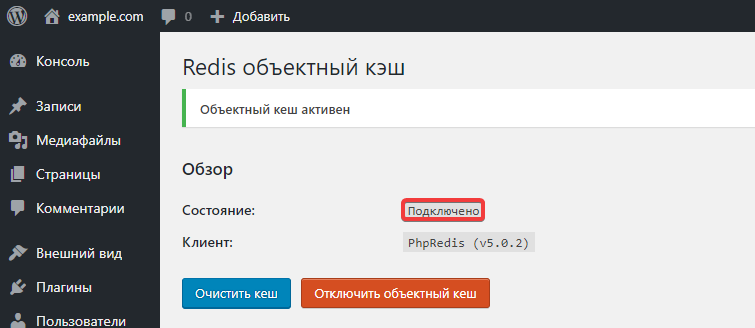
- Check the site operation.
W3 Total Cache
- Open the site admin panel.
- Install and activate the W3 Total Cache plugin.
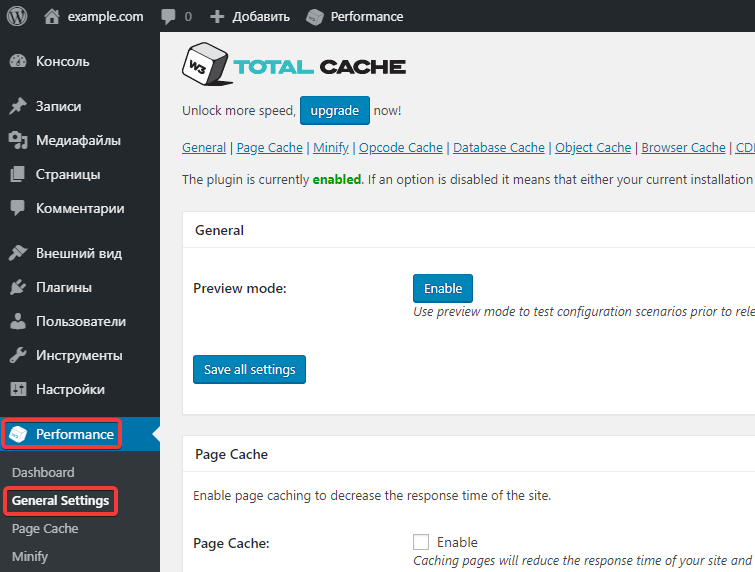
- Go to the "Performance → General Settings" section:
- In the "Object Cache" section:
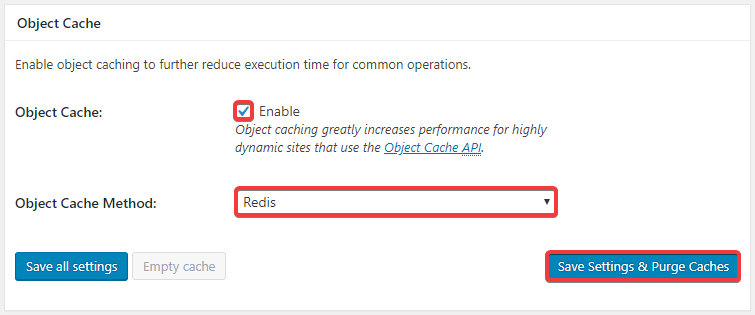
- In the "Object Cache" line, select "Enabled".
- In the "Object Cache Method" line, select "Redis".
- Save the changes.
- Go to the "Performance → Object Cache" section:
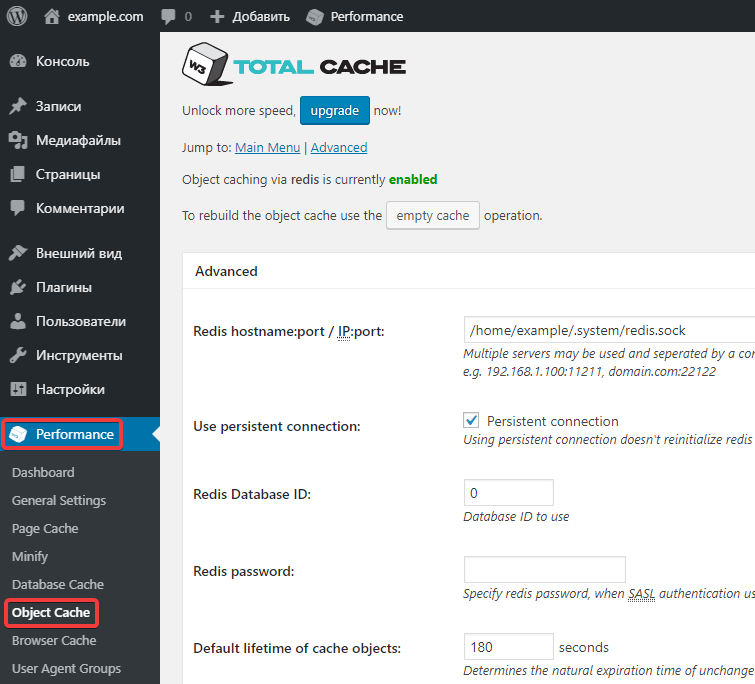
- In the "Advanced" block:
- In the "Redis hostname:port / IP:port" field, specify
/home/example/.system/redis.sock(replaceexamplewith the name of the hosting account where the site is hosted) and click "Test":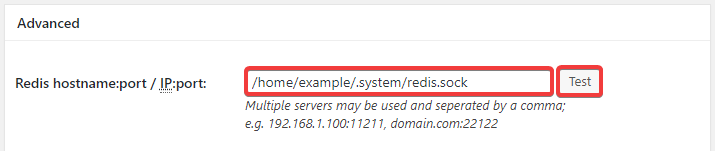 If everything is okay, the green text "Test passed" should appear:
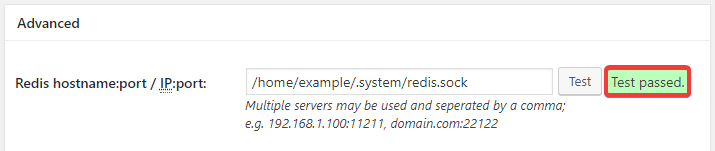
- Save the changes.
- Follow the same steps for "Page Cache" and "Database Cache".
- Check the site operation.
Object Cache Pro
The plugin is paid
You can purchase a license on the official site.- Open the site admin panel.
- Install and activate the Object Cache Pro plugin (you can do this either by uploading the plugin archive via the WordPress dashboard or by manually placing the plugin directory in the WordPress plugins directory).
- Place the plugin directory in the WordPress plugins directory.
- Edit the site configuration file
wp-config.phpand add the following lines to it (in the second line, replace<your-license-token>with your license token; in the third line, replaceexamplewith the name of the hosting account where the site is hosted):define('WP_REDIS_CONFIG', [ 'token' => '<your-license-token>', 'host' => 'unix:///home/example/.system/redis.sock', 'database' => 0, // change for each site 'maxttl' => 86400 * 7, 'timeout' => 1.0, 'read_timeout' => 1.0, // 'prefetch' => true, // 'split_alloptions' => true, 'debug' => false, ]); define('WP_REDIS_DISABLED', false); - In the WordPress dashboard, find the "Object Cache Pro" widget and click "Enable Object Cache". If everything is working properly, "Status: Connected" should appear.
- Check the site operation.
Video
Connecting Redis using Redis Object Cache and W3 Total Cache:
(1)