Manage cookies that are used for advertising, such as ad personalization, remarketing, and ad effectiveness analysis.
3.6.13. Confirm domain in Bing Webmaster
Attention!
- The domain must be served on our NS. If the domain is served on third-party NS, actions need to be performed not with us, but in the panel of their owner.
- Sign in to your Bing Webmaster account.
- Select the method for adding a domain:
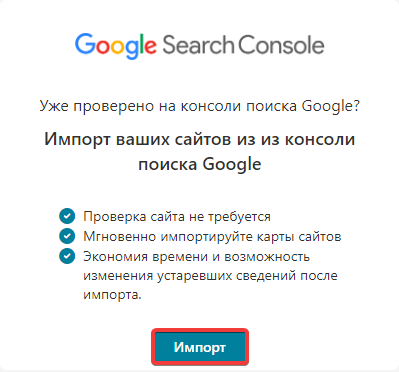
- Importing domains from Google Search Console:
- Click "Import":
- Log in to the required account and complete all the steps.
- Select the domains to import into Bing Webmaster and click "Import":
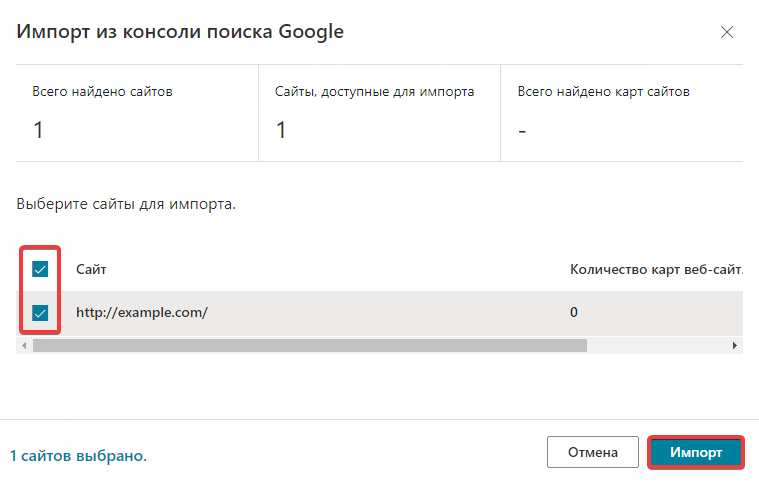
- Wait for the import to complete.
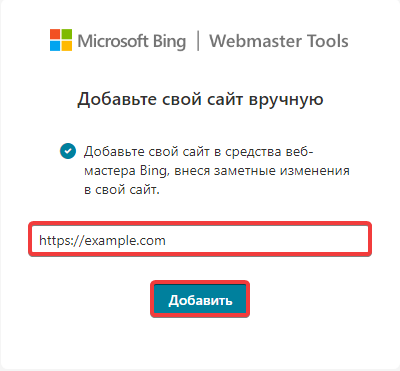
- Adding and verifying a domain in Bing Webmaster:
- Specify the site URL and click "Add":
- Select the method for verifying domain ownership:
- In the Bing Webmaster panel, select the verification method using XML file upload and download the generated unique file:
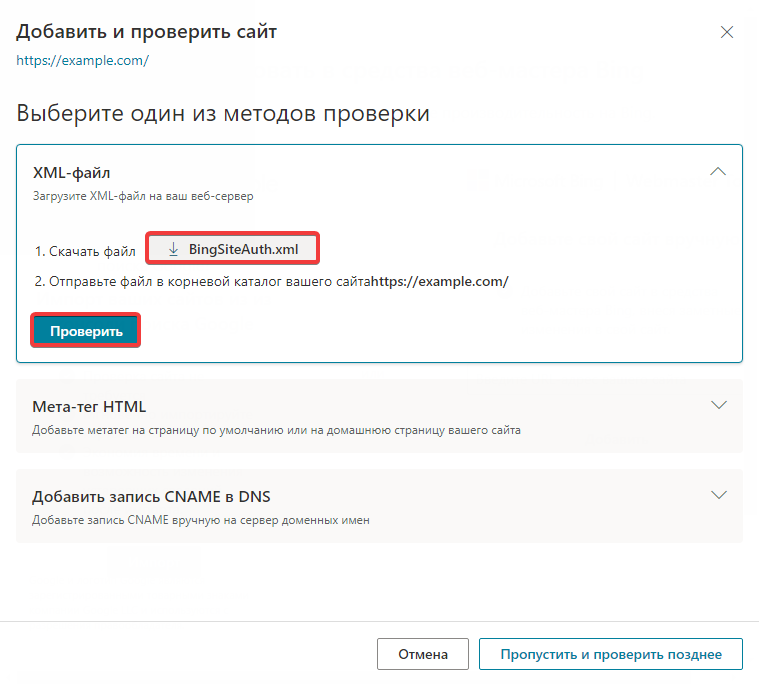
- Using the file manager or any FTP client, upload the downloaded file to the root directory of your site.
- Click "Check".
- In the Bing Webmaster panel, select the verification method by adding a meta tag and obtain the data of the generated unique meta tag:
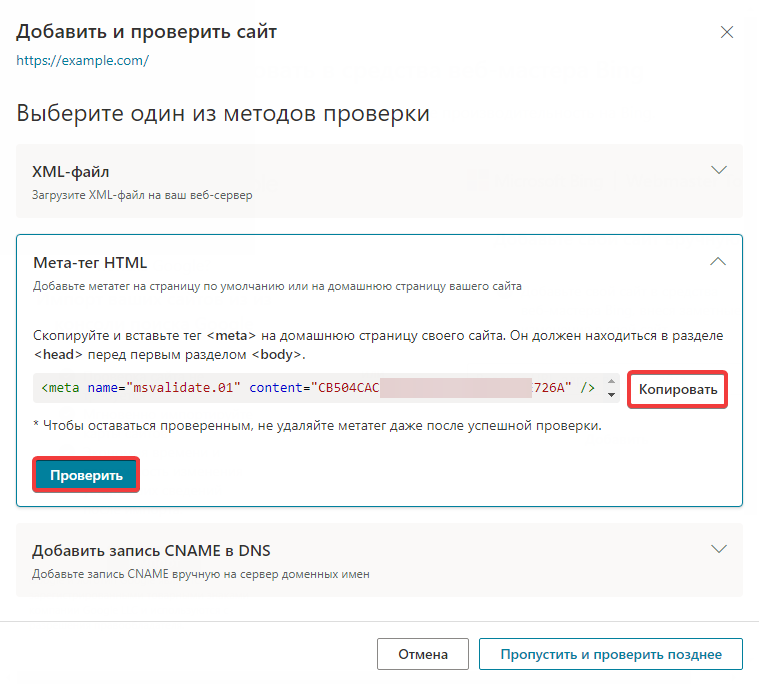
- Using the file manager editor or any FTP client, edit the files of your site responsible for generating head content, and insert the copied meta tag between the
<head>and</head>tags. - Click "Check".
This method is slower than confirmation using an XML file or a meta tag.- In the Bing Webmaster panel, select the verification method using CNAME record creation and obtain the data of the generated unique CNAME record:
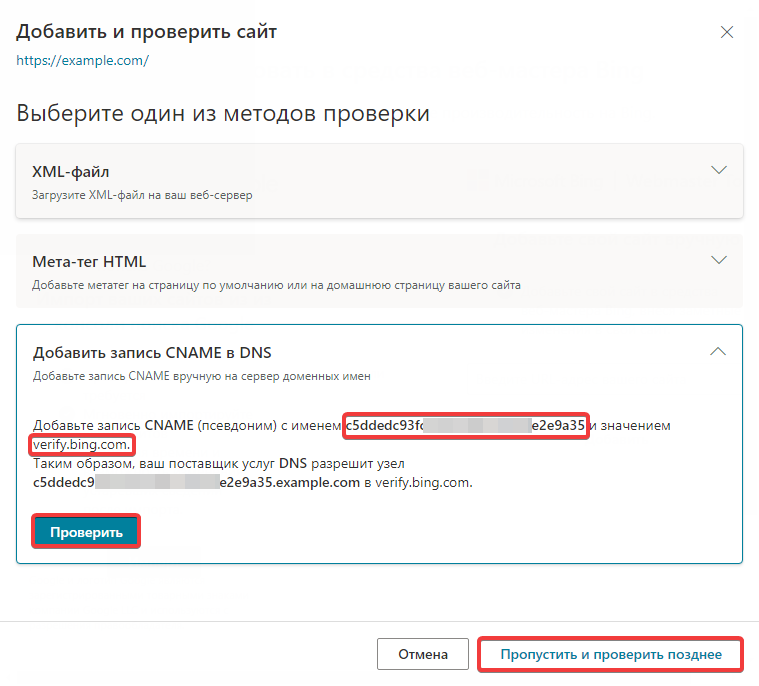
- Add a new entry in the domain settings with the following data:
- "Subdomain" — a unique string with the name of the subdomain of the obtained CNAME record.
- "Type" — "CNAME".
- "Data" —
verify.bing.com.
- Click "Check" or skip the current confirmation and click "Skip and check later".
- Wait for the DNS cache to update. This usually takes from a few minutes to several hours (up to a maximum of 24).