Manage cookies that are used for advertising, such as ad personalization, remarketing, and ad effectiveness analysis.
3.6.6. Confirm domain in Facebook Business
Automatic setup
Use presets from the "Facebook" group.
Manual setup
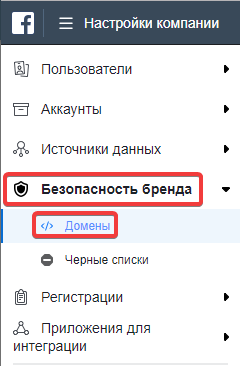
- Log in to the Facebook business account and go to the "Brand Safety → Domains" section:
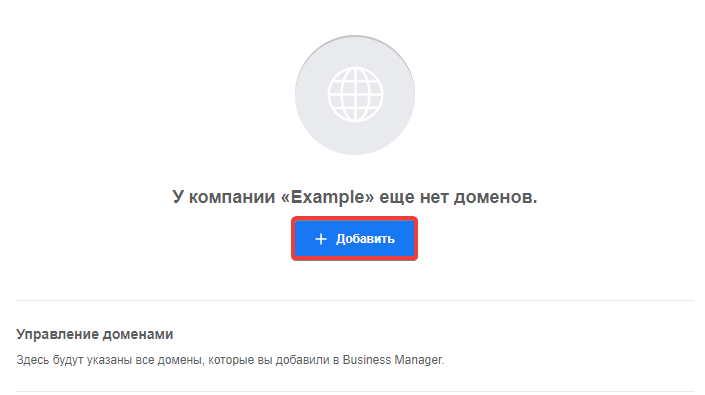
- On the page that opens, click "Add":
- In the "Domain name" field, enter the desired domain (without the
http://orhttps://protocol) and click "Add domain":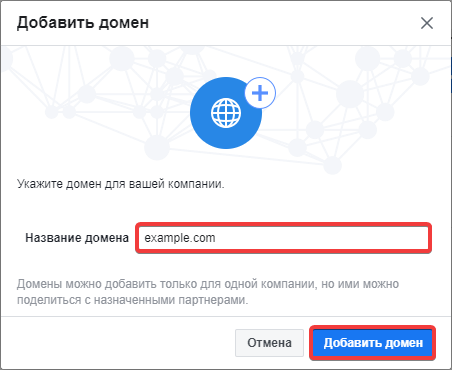
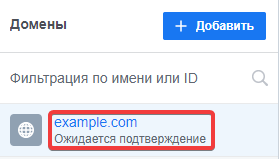
- After adding the domain, it will appear in the "Domains" column with the comment "Pending confirmation":
- Select the added domain and verification method:This method is slower than confirmation using an HTML file.
Attention!
- The domain must be served on our NS. If the domain is served on third-party NS, actions need to be performed not with us, but in the panel of their owner.
- Select the confirmation method "DNS confirmation" and copy the received record:
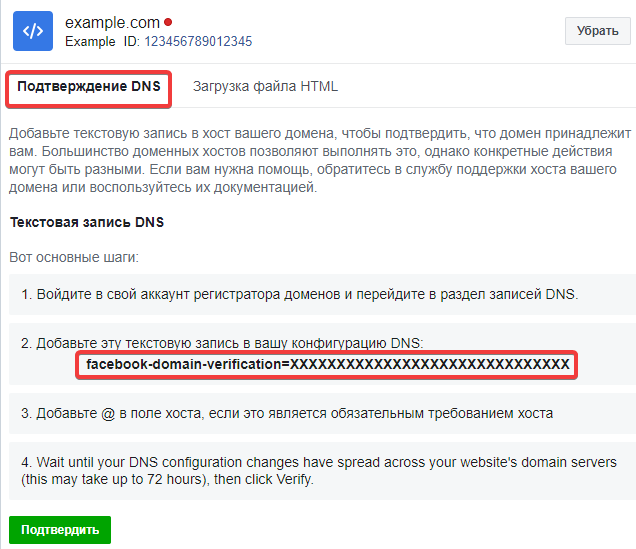
- Add a DNS record with the following data:<panel no-body="true">
- "Subdomain" — empty.
- "Type" — "TXT".
- "Data" — a record obtained from Facebook.
- Wait for the DNS cache update. This usually takes several hours (a maximum of 24).
Do not delete the entry after confirmation.To verify the domain using this method, you must have access to the files on the server to which the domain is directed.If the domain is directed to our hosting, then to verify the domain, perform the following:
- Select the confirmation type "HTML file upload":
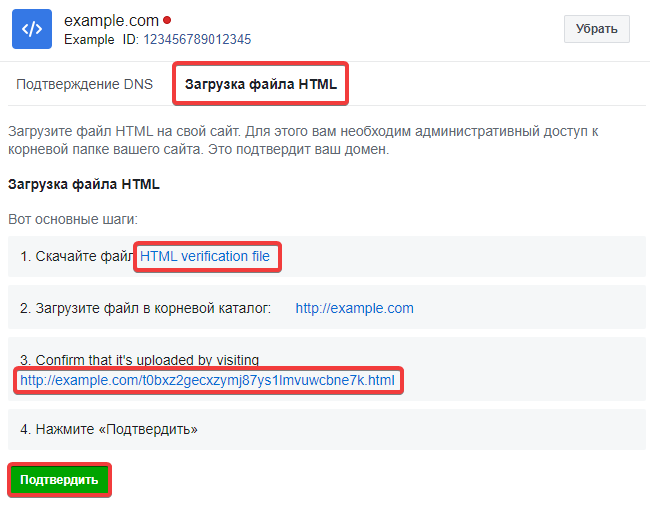
- Click on "HTML verification file" and download the verification file.
- Upload the file to the root directory of your site. This can be done using the file manager or any FTP client.
- Check the availability of the file at the link marked in the screenshot.
Do not delete the file after confirmation. - In Facebook, click "Confirm".